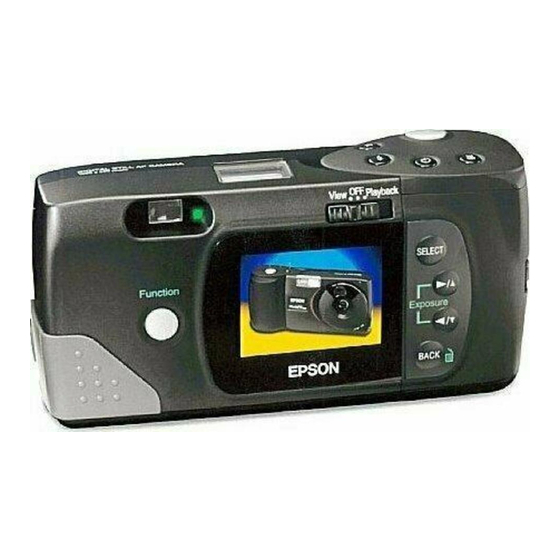
Epson PhotoPC 700 Manual do utilizador - Página 8
Procurar online ou descarregar pdf Manual do utilizador para Software Epson PhotoPC 700. Epson PhotoPC 700 11 páginas. Epson photopc 700: user guide
Também para Epson PhotoPC 700: Especificações (2 páginas), Informações importantes (1 páginas), Manual (11 páginas), Manual do utilizador (24 páginas), Boletim de apoio ao produto (3 páginas), Manual rápido (2 páginas)

EPSON PhotoPC 700
Connecting to a Macintosh
Before you start, turn off the camera, LCD screen, and your
Macintosh. Then follow these steps:
1. Locate the modem port
back of your Macintosh. You can use either port to connect
the camera.
NOTE
If you are sharing a serial port that you use for another device, make
sure AppleTalk™ is turned off. Your Macintosh may not recognize the
camera if AppleTalk is on.
2. Connect the long cable to the short Macintosh adapter
cable, then tighten the screws.
3. Line up the arrow on the cable connector with the port icon
on your Macintosh. Then insert the connector.
.
4. Open the connector cover on the side of the camera.
5. Depending on the type of cable you have, line up either the
arrow or the flat side of the cable connector with the mark
on the camera's serial port. Then insert the connector.
6. Turn on the camera and your Macintosh system.
Using CompactFlash Storage Cards
You can use optional ATA-compatible CompactFlash storage
cards (4MB and up) to increase the storage capacity of your
camera. When you install a card, the camera stores pictures on
the card, rather than in its internal memory. You can copy
photos from your camera to the card (and vice versa).
If your desktop or notebook computer has a Type II PCMCIA
card slot, you can access images on storage cards directly by
using an optional PCMCIA adapter.
8 - EPSON PhotoPC 700
or printer port
on the
Macintosh
adapter
CompactFlash cards increase the camera's picture storage
capacity as shown in the table below. Each card adds the
number of pictures shown to the number of pictures in the
camera's internal memory.
Number of pictures (minimum capacity) for internal memory and
4 to 12MB cards
Internal
Image Quality
Memory*
Standard
39
Fine
11
Super Fine
5
Fine Panorama
23
Super Fine
11
Panorama
*with Direct Print installed (factory setting)
Number of pictures (minimum capacity) for 16 to 32MB cards
Image Quality
Standard
Fine
Super Fine
Fine Panorama
Super Fine
Panorama
Installing a Storage Card
Before you start, make sure the camera and the LCD screen
are turned off.
1. Open the storage card cover and insert the card all the way
into the slot, as shown below:
2. Close the card slot cover.
The number of pictures you can store in the card appears in
brackets on the camera's display panel.
5/98
4MB
8MB
Card
Card
59
119
17
35
8
17
35
71
17
35
16MB
20MB
24MB
Card
Card
Card
240
298
360
72
89
108
36
44
54
144
179
216
72
89
108
12MB
Card
179
53
26
107
53
32MB
Card
481
144
72
288
144
