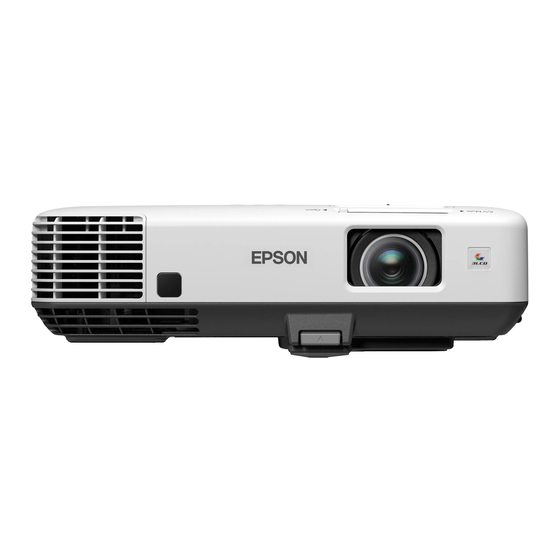
Epson PowerLite 1880 Configuração rápida - Página 2
Procurar online ou descarregar pdf Configuração rápida para Software Epson PowerLite 1880. Epson PowerLite 1880 4 páginas. Operation guide - easymp monitor
Também para Epson PowerLite 1880: Manual de operação (47 páginas), Especificações (6 páginas)

4
Press the
power button on the projector or remote control. The
projector beeps, the power light flashes green, and then stays on.
Note: To shut down the projector, press the
unplug it. You don't have to wait for the projector to cool down.
5
The default language of the menu system is English. To select another
language, press the Menu button on the remote control. Select
Extended and press Enter. Select Language and press Enter. Select
your language and press Enter. Press the Menu button to exit the
menu system.
Adjust the image
1
If you don't see an image, press the Source Search button on the
projector or the remote control to select the image source.
Note: If you still see a blank screen or have other display problems, see
the troubleshooting tips on the back of this sheet.
2
To raise the image, press the foot release button and lift the front of the
projector. Release the button to lock the foot in position.
3
Turn the zoom ring to reduce or enlarge the image.
4
Turn the focus ring to sharpen the image.
5
If your image looks like
to one side of the screen at an angle. Use the horizontal slider on the
projector to correct it. Or place the projector directly in front of the
center of the screen, facing the screen squarely.
6
Your projector automatically adjusts images that look like
but if necessary you can press the
correct it.
power button twice, then
W
T
or
, you've placed the projector off
or
or
buttons on the projector to
Using the remote control
Make sure the batteries are installed as shown (two AA batteries).
Turn projector
on and off
Access projector
menus
Turn off projector
display
For more information on using the remote control, see the online User's
Guide.
Project over a wired
network
Follow the steps here to configure your projector for your wired network
using the projector's menu system.
1
Plug in and turn on the projector.
2
Press the Menu button on the remote control, select the Network
menu, and press Enter.
3
Select Network Configuration and press Enter.
4
Select the Basic menu and press Enter.
,
Choose which
source to display
Navigate projector
menus
Get solutions to
common problems
