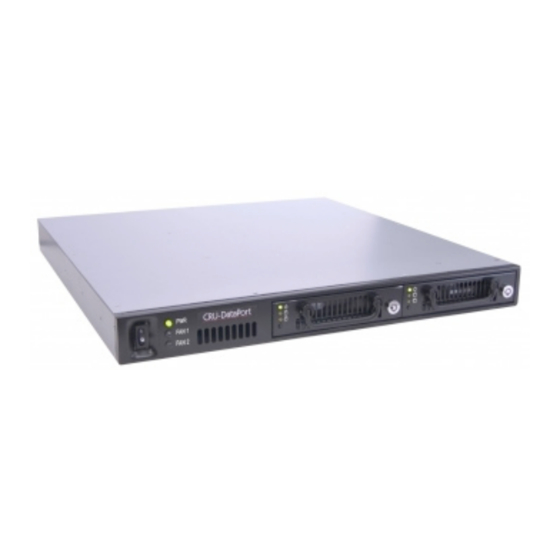
CRU Dataport Multi-Lane DataPAK Manual do utilizador
Procurar online ou descarregar pdf Manual do utilizador para Invólucro CRU Dataport Multi-Lane DataPAK. CRU Dataport Multi-Lane DataPAK 3 páginas.

DataPort Multi-Lane DataPAK
Package Contents
Enclosure accessories:
1 - 1.8M external power cord
6 - M5x.6x8 PHMS Phillips black
DataPAK carrier accessories:
3 - DataExpress Keyset
4 - 6-32 x .250 FHMS Phillips
8 - 6-32 shoulder screws with anti-shock grommets
Hard Drive Installation
Remove the DataPAK carriers from the enclosure to install hard
drives. Review and follow the instructions to install hard drives
in the DataPAK carriers.
1. Remove the 4 cover screws and slide the carrier cover of the
DataPAK carrier to open.
2. Add the shoulder screws with anti-shock grommets to the hard
drives.
3. Remove the foam from the drive connectors.
4. Connect the hard drives and secure via bottom mount screws.
5. Install the hard drive in the carrier so the shoulder grommets
align with the mounting slots. Press the drive firmly in place.
6. Slide the cover on the carrier to close and secure it with the 4
cover screws.
Rugged, Reliable, Mobile, Secure
1U Rack mount enclosure with DualPAK™ removable dual drive carriers. Ideal
for disk-to-disk backup where users can "pull" a backup at anytime. Rugged
Sheet Metal Design and Shock-mounted DualPAK multi-disk removable drive
carriers for drive protection during operation, removal, transporting and stor-
age. Available in Quad RAID (eSATA, USB 2.0, FireWire 800/400) or Multilane
Point-to-Point SAS/SATA JBOD.
Enclosure Setup Instructions
WARNING: The DataPort 1U Enclosure requires slide rails or
another support system to be rack mounted. The front mount-
ing brackets will not allow the DataPort 1U Enclosure to be rack
mounted without additional support.
1. Power off the host computer and disconnect the power cord.
2. Install the internal drives in the DataPort 1U Enclosure. See In-
stalling a Hard Drive in the Enclosure section for more details.
3. Install hard drives in the removable carriers. See Installing a
Hard Drive in the Carrier section for more details.
4. Insert the removable carriers into the enclosure and engage
the lock on the carrier.
5. Connect the host computer to the DataPAK 1U Multi-Lane
Enclosure with an external multi-lane cable (not provided).
6. Power on the DataPort 1U Enclosure with the power button
located on the back of the enclosure. For best results power on
the enclosure prior to powering on the host system.
NOTE: The DataPAK 1U Multi-Lane Enclosure supports hot
swapping the hard drives in the Removable Drive Carriers,
provided the host bus adapter also supports that feature.
When hot swapping drives, ensure drive activity has
stopped before powering down the Removable Drive Carri-
ers. The DataPAK will remove 2 drives from the array when
the carrier is removed, this will cause some RAIDs to fail
and could require a system reboot to restore functionality.
1-800-260-9800
www.CRU-DataPort.com
TM
