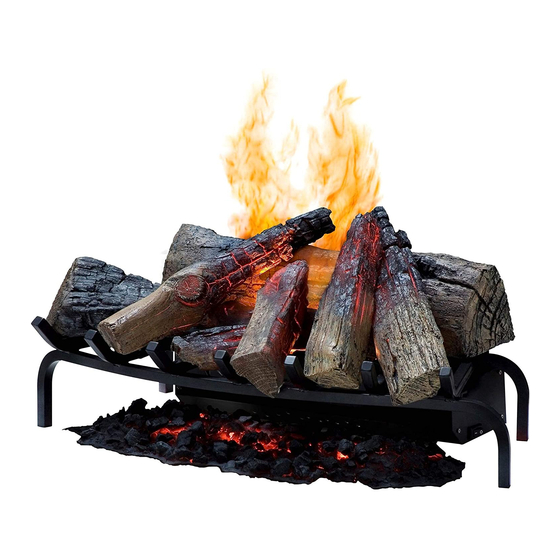
Dimplex DLGM29 Manual de serviço - Página 8
Procurar online ou descarregar pdf Manual de serviço para Aquecedor elétrico Dimplex DLGM29. Dimplex DLGM29 10 páginas. Log grate
Também para Dimplex DLGM29: Manual do Proprietário (20 páginas)

LED LIGHT ASSEMBLY REPLACEMENT
Tools Required: Philips head screwdriver
Flat Head Screwdriver
WARNING: Disconnect power before attempting any
maintenance to reduce the risk of electric shock or damage
to persons.
!
NOTE: Ensure that all of the components that
contain water have been emptied before performing any
maintenance.
1. Disconnect and remove all of the logs from the unit,
including the light shield and associated log, and put
them in a safe place. (Figure 5)
2. Remove the removable refill container and set aside.
3. From the front remove the six (6) screws that hold the
heating and light assembly to the housing. (Figure 6)
4. Disconnect the wire connection on the LED light as-
sembly.
5. On the new light assembly, attach the light lenses to
the board by orienting the lens so that it fits directly
onto the light, ensuring that the lines on the lens are
perpendicular to the heating element.
6. Remove the two (2) screws that hold the LED assembly
to the heater assembly and replace with the new LED
light assembly. (Figure 6)
7. Reattach the wire onto the new light assembly.
8. Re-assemble the remainder of the log grate in reverse
order from the instructions above.
FAN ASSEMBLY REPLACEMENT
Fan Motor and Fan Housing
Tools Required: Philips head screwdriver
Flat Head Screwdriver
WARNING: Disconnect power before attempting any
maintenance to reduce the risk of electric shock or damage
to persons.
!
NOTE: Ensure that all of the components that
contain water have been emptied before performing any
maintenance.
1. Disconnect and remove all of the logs from the unit,
including the light shield and associated log, and put
Figure 8
Fan Motor
8
them in a safe place. (Figure 5)
2. Disassemble the sump components. (Figure 3)
3. Remove the three (3) screws that hold the cover onto
the fan housing. (Figure 8)
4. Remove the fan motor out of the housing and discon-
nect the wiring connection located near the bottom of
the housing.
5. If replacing only the motor, attach new motor and reas-
semble the remainder of the log grate in revers order
from the instructions above.
• If replacing the housing, remove the three (3) screws
attaching the base to the log grate. (Figure 9)
6. Attach new fan housing base to the log grate.
7. Transfer the filter from the old housing to the new hous-
ing.
8. Reinstall the fan motor and reconnect the wire.
9. Re-assemble the remainder of the log grate in reverse
order from the instructions above.
Figure 9
Fan Motor
www.dimplex.com
