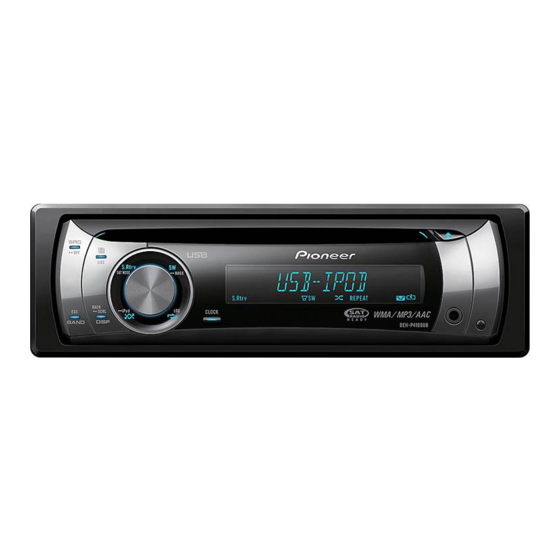
Pioneer DEH-P4100UB Manual de instalação - Página 3
Procurar online ou descarregar pdf Manual de instalação para Recetor para automóvel Pioneer DEH-P4100UB. Pioneer DEH-P4100UB 5 páginas. Pioneer deh-11e: product brochure
Também para Pioneer DEH-P4100UB: Brochura (9 páginas)

When not connecting a rear speaker leard to a subwoofer
1.5 m (4 ft. 9 in.)
20 cm
(7-7/8 in.)
1. USB cable
Connect to separately sold USB device.
2. This product
3. Rear output
4. Front output
7. Wired remote input
Hard-wired remote control adaptor can
5. Antenna jack
be connected (sold separately).
6. Subwoofer output
8. IP-BUS input (Blue)
11. Fuse (10 A)
10. Multi-CD player
9. IP-BUS cable
(sold separately)
12. Yellow
Connect to the constant 12 V supply terminal.
13. Red
Connect to terminal controlled by
ignition switch (12 V DC).
14. Orange/white
Connect to lighting switch terminal.
15. Black (chassis ground)
Connect to a clean, paint-free metal location.
16. White
18. Gray
20. Front speaker
20. Front speaker
17. White/black
19. Gray/black
21. Left
22. Right
23. Green
25. Violet
27. Rear speaker
27. Rear speaker
24. Green/black
26. Violet/black
28. With a 2 speaker system, do not
connect anything to the speaker leads
that are not connected to speakers.
33. Power amp
(sold separately)
29. To rear output
32. Connect with RCA cables
(sold separately)
33. Power amp
(sold separately)
30. To front output
33. Power amp
(sold separately)
31. To subwoofer
output
35. System remote control
34. Blue/white
Connect to system control terminal of the power
amp or auto-antenna relay control terminal
(max. 300 mA 12 V DC).
36. Perform these
connections when using
the optional amplifier.
37.Subwoofer
37.Subwoofer
20. Front speaker
20. Front speaker
27. Rear speaker
27. Rear speaker
When using a subwoofer without using the optional amplifier
1.5 m (4 ft. 9 in.)
1. USB cable
Connect to separately sold USB device.
2. This product
3. Rear output
4. Front output
5. Antenna jack
6. Subwoofer output
11. Fuse (10 A)
12. Yellow
Connect to the constant 12 V supply terminal.
13. Red
Connect to terminal controlled by ignition switch (12 V DC).
14. Orange/white
Connect to lighting switch terminal.
15. Black (chassis ground)
Connect to a clean, paint-free metal location.
38. Note:
Change the initial setting of this unit.
The subwoofer output of this unit is monaural.
20 cm
(7-7/8 in.)
7. Wired remote input
Hard-wired remote control adaptor can
be connected (sold separately).
8. IP-BUS input (Blue)
10. Multi-CD player
(sold separately)
34. Blue/white
9. IP-BUS cable
Connect to system control
terminal of the power amp or
auto-antenna relay control
terminal (max. 300 mA 12 V DC).
16. White
18. Gray
20. Front speaker
17. White/black
19. Gray/black
21. Left
23. Green
25. Violet
39. Subwoofer (4 Ω)
24. Green/black
26. Violet/black
40. When using a subwoofer of 70 W (2 Ω), be sure to connect
with Violet and Violet/black leads of this unit.
Do not connect anything with Green and Green/black leads.
23. Green
25. Violet
41. Not used.
24. Green/black
26. Violet/black
20. Front speaker
22. Right
39. Subwoofer (4 Ω)
42. Subwoofer
(4 Ω) 2
