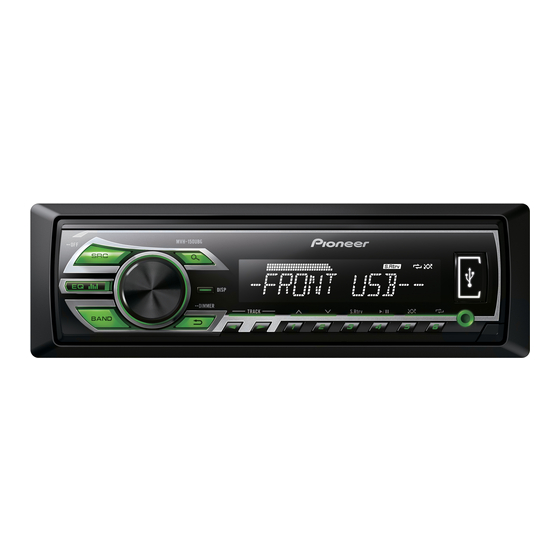
Pioneer MVH-150UBG Manual do Proprietário - Página 3
Procurar online ou descarregar pdf Manual do Proprietário para Recetor para automóvel Pioneer MVH-150UBG. Pioneer MVH-150UBG 33 páginas. Rds media center receiver

Operating this unit
Indicator
State
! Tuner: band and fre-
quency
! RDS: program service
Main infor-
name, PTY information
9
mation sec-
and other literal informa-
tion
tion
! USB storage device:
elapsed playback time
and text information
Appears when a lower tier of
a
folder or menu exists.
Set up menu
When you turn the ignition switch to ON after in-
stallation, set up menu appears on the display.
You can set up the menu options below.
1
After installation of this unit, turn the
ignition switch to ON.
SET UP appears.
2
Turn M.C. to switch to YES.
# If you do not operate for 30 seconds, the set up
menu will not be displayed.
# If you prefer not to set up at this time, turn M.C.
to switch to NO. Press to select.
If you select NO, you cannot set up in the set up
menu.
3
Press M.C. to select.
4
Perform the following procedures to set
the menu.
To proceed to the next menu option, you need to
confirm your selection.
LANGUAGE (multi-language)
This unit can display the text information from a
compressed audio file even for information em-
bedded in English or Russian.
! If the embedded language and the selected
language setting are not the same, text infor-
mation may not display properly.
! Some characters may not be displayed prop-
erly.
1 Turn M.C. to select the desired setting.
ENG (English)—РУС (Russian)
2 Press M.C. to confirm the selection.
CLOCK SET (setting the clock)
1 Turn M.C. to adjust hour.
2 Press M.C. to select minute.
3 Turn M.C. to adjust minute.
4 Press M.C. to confirm the selection.
FM STEP (FM tuning step)
Normally, the FM tuning step employed by seek
tuning is 50 kHz. When AF or TA is on, the tuning
step automatically changes to 100 kHz. It may be
preferable to set the tuning step to 50 kHz when
AF is on.
! The tuning step remains at 50 kHz during man-
ual tuning.
1 Turn M.C. to select the FM tuning step.
50 (50 kHz)—100 (100 kHz)
2 Press M.C. to confirm the selection.
QUIT appears.
5
To finish your settings, turn M.C. to select
YES.
# If you prefer to change your setting again, turn
M.C. to switch to NO. Press to select.
6
Press M.C. to select.
Operating this unit
Notes
! You can set up the menu options from the
system menu. For details about the settings,
refer to System menu on page 7.
! You can cancel set up menu by pressing
SRC/OFF.
Basic operations
Important
! Handle gently when removing or attaching
the front panel.
! Avoid subjecting the front panel to excessive
shock.
! Keep the front panel out of direct sunlight
and high temperatures.
! To avoid damaging the device or vehicle inte-
rior, remove any cables and devices attached
to the front panel before detaching it.
Removing the front panel to protect your unit from
theft
1 Press the detach button to release the front
panel.
2 Push the front panel upward (M) and then pull
it toward (N) you.
3 Always keep the detached front panel in a pro-
tection device such as a protection case.
Re-attaching the front panel
1 Slide the front panel to the left.
Make sure to insert the tabs on the left side of
the head unit into the slots on the front panel.
2 Press the right side of the front panel until it is
firmly seated.
If you cannot attach the front panel to the
head unit successfully, make sure that you are
placing the front panel onto the head unit cor-
rectly. Forcing the front panel into place may
result in damage to the front panel or head
unit.
Turning the unit on
1 Press SRC/OFF to turn the unit on.
Turning the unit off
1 Press and hold SRC/OFF until the unit turns
off.
Section
02
3
En
