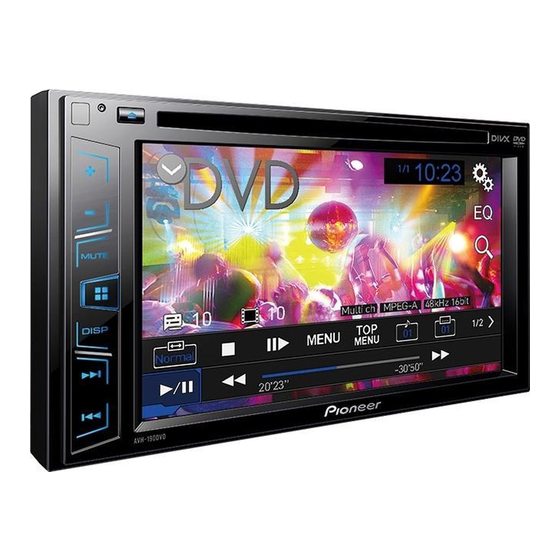
Pioneer AVH-190DVD Manual de instalação - Página 3
Procurar online ou descarregar pdf Manual de instalação para Recetor Pioneer AVH-190DVD. Pioneer AVH-190DVD 45 páginas. Dvd rds av receiver
Também para Pioneer AVH-190DVD: Manual do Proprietário (49 páginas), Manual de início rápido (33 páginas), Manual de operação (38 páginas), Manual do Proprietário (45 páginas)

Connection
This product
1
2
8
7
6
5
1 Microphone 3 m
(AVH-290BT)
2 This product
3 Aerial jack
4 Wired remote input
Hard-wired remote control adapter can be connected (sold
separately).
5 Power supply
6 Fuse (10 A)
7 Front output
8 Rear output or subwoofer output
Power cord
2
2*
4*
7
4
3
8
9
f
1.
k
1
1*
3*
3
4
5
6
c
a (5*)
b (6*)
d
e
2.
h
g
i
j
1 To power supply
2 Depending on the kind of vehicle, the function of 2* and 4*
may be different. In this case, be sure to connect 1* to 4*
and 3* to 2*.
3 Yellow (2*)
Back-up (or accessory)
4 Yellow (1*)
Connect to the constant 12 V supply terminal.
5 Red (4*)
Accessory (or back-up)
6 Red (3*)
Connect to terminal controlled by ignition switch (12 V DC).
7 Connect leads of the same colour to each other.
8 Orange/white
To lighting switch terminal.
9 Black (earth)
To vehicle (metal) body.
a Blue/white (5*)
The pin position of the ISO connector will differ depending
on the type of vehicle. Connect 5* and 6* when Pin 5 is an
aerial control type. In another type of vehicle, never connect
5* and 6*.
b Blue/white (6*)
Connect to auto-aerial relay control terminal (max. 300 mA
12 V DC).
c Blue/white
Connect to system control terminal of the power amp (max.
300 mA 12 V DC).
d Violet/white
Of the two lead wires connected to the back lamp, connect
the one in which the voltage changes when the gear shift
is in the REVERSE (R) position. This connection enables
the unit to sense whether the car is moving forwardss or
backwardss.
e Light green
Used to detect the ON/OFF status of the handbrake. This
lead must be connected to the power supply side of the
handbrake switch.
f Connection method
1 Clamp the lead.
2 Clamp firmly with needle-nosed pliers.
g Power supply side
h Handbrake switch
i Earth side
j Speaker leads
White: Front left +
White/black: Front left –
Grey: Front right +
Grey/black: Front right –
Green: Rear left +
Green/black: Rear left –
3
