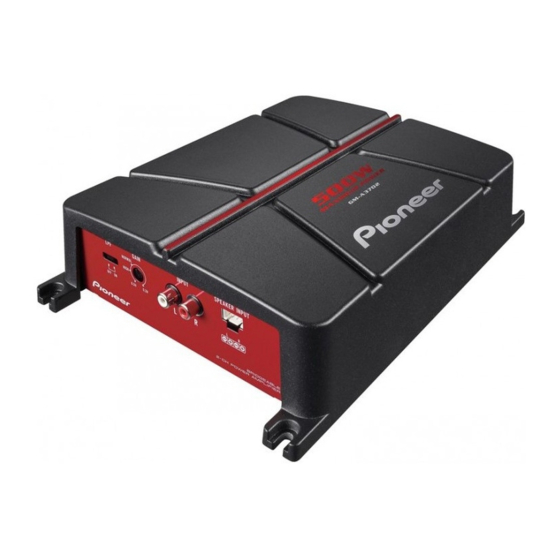
Pioneer GM-A3702 Manual do Proprietário - Página 12
Procurar online ou descarregar pdf Manual do Proprietário para Amplificador Pioneer GM-A3702. Pioneer GM-A3702 16 páginas. Bridgeable two-channel
Também para Pioneer GM-A3702: Manual do Proprietário (19 páginas), Manual do Proprietário (33 páginas), Manual do Proprietário (33 páginas)
Connecting the units
Connecting the power
terminal
The use of a special red battery and ground
wire RD-223 (sold separately) is recom-
mended. Connect the battery wire directly to
the car battery positive terminal + and the
ground wire to the car body.
WARNING
If the battery wire is not securely fixed to the term-
inal using the terminal screws, there is a risk of
overheating, malfunction and injury, including
minor burns.
1
Route battery wire from engine com-
partment to the vehicle interior.
! When drilling a cable pass-hole into the ve-
hicle body and routing a battery wire thor-
ough it, take care not to short-circuit the
wire damaging it by the cut edges or burrs
of the hole.
After completing all other amplifier connec-
tions, finally connect the battery wire terminal
of the amplifier to the positive + battery term-
inal.
1 Positive + terminal
2 Engine compartment
3 Vehicle interior
4 Fuse (30 A) × 2
5 Insert the O-ring rubber grommet into the
vehicle body.
6 Drill a 14 mm hole into the vehicle body.
2
Twist the battery wire, ground wire
and system remote control wire.
3
Attach lugs to wire ends.
Use pliers, etc., to crimp lugs to wires.
1 Lug (sold separately)
2 Battery wire
3 Ground wire
4
Connect the wires to the terminal.
Fix the wires securely with the terminal
screws.
1 System remote control terminal
2 Ground terminal
3 Power terminal
4 Terminal screws
5 Battery wire
6 Ground wire
7 System remote control wire
En
Autogoods "130"
Twist