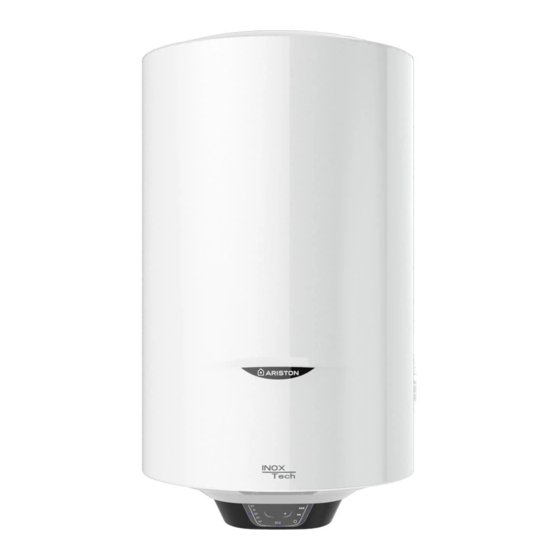
Ariston 120 Instruções de instalação, utilização e manutenção - Página 17
Procurar online ou descarregar pdf Instruções de instalação, utilização e manutenção para Aquecedor de água Ariston 120. Ariston 120 41 páginas.
Também para Ariston 120: Manual do utilizador (44 páginas)

EN
supply. Before starting up the appliance, check that the power rating matches that given on the nameplate.
The use of multiplugs, extensions or adaptors is strictly prohibited.
It is strictly forbidden to use the piping from the plumbing, heating and gas systems for the appliance earthing
connection. If the appliance is supplied with a power supply cable, should the latter need replacing, use a cable
featuring the same characteristics (type H05VV-F 3x1.5 mm
, 8.5 mm in diameter. The power cord (H05VV-F
2
3x1 mm
dia. 8.5 mm) must be routed into the hole in the back of the appliance and connected to the thermostat
2
terminals (M Fig. 3-4-5-6).
Use a two-pole switch conforming with national laws in force (contact gap of at least 3 mm, preferably equipped with
fuses) to disconnect the appliance's power supply.
The appliance must be grounded with a cable (yellow/green and longer than the phase cable) connected to the
terminals marked
(G Fig. 3-4-5-6).
Before starting up the appliance, check that the power rating matches that given on the nameplate. If the appli-
ance is not supplied with a power supply cable, choose one of the following installation modes:
- connection to mains with a rigid pipe (if the appliance has no cable clamp); use a cable with a minimum 3x1.5
mm
section;
2
- with a flexible cable (type H05VV-F 3x1.5mm
, 8.5 mm in diameter) if the appliance is supplied with a cable clamp.
2
Testing and ignition of the device
Before powering up the appliance, fill the heater with mains water. To do so, open the mains cock and the hot
water tap until all the air has been vented from the boiler. Check for leaks from the flanges, tighten down the fit-
tings (not too much!) if necessary.
Turn on the appliance with the switch.
MAINTENANCE REGULATIONS (for qualified personnel)
Before calling your Technical Servicing Centre, check that the fault is not due to lack of water or power failure.
Caution: disconnect the appliance from the mains before conducting any maintenance work.
Emptying the appliance
To drain the appliance, proceed as follows:
- close the tap, if installed (D Fig. 2), otherwise the central tap domestic power supply;
- turn on the hot water tap (wash basin or bathtub);
- open the drain valve B (Fig. 2).
Replacing parts
Remove the enclosure to access the electrical equipment.
• For models featuring a user interface of the type represented in figures 3 and 5:
To work on the electronic thermostat (Ref. T), disconnect the power supply cable (Ref. C) and the control panel
wire (Ref. Y). Next, remove it from its slot, taking care not to bend the sensor support rod (Ref. K) too much.
To work on the control panel (Ref. W), disconnect the wire (Ref. Y) and loosen the screws.
• For models featuring a user interface of the type represented in figures 4 and 6:
To work on the sensor support rod (Ref. K), disconnect the wire (Ref. F) from the P.C.B. and remove it from its
slot, taking care not to bend it too much.
To work on the power board (Ref. Z), disconnect the cables and wires (Ref. C, Y, F and P) and loosen the screws.
During reassembly, make sure that all components are put back in their original positions.
In order to work on the heating element and the anode, the appliance must first be emptied.
Undo the 5 bolts (C fig. 7) and remove the flange (F fig. 7). The heating element and anode are attached to the
flange. During reassembly, make sure that the flange gasket, the thermostat and the heating element are put
back in their original positions (Fig. 7).
We recommend replacing the flange gasket (Z Fig. 8) every time it is disassembled.
Use only original parts from authorized service centres authorized by the manufacturer.
Periodical maintenance
The heating element (R fig. 8) should be descaled every two years (the frequency must be increased, if water is
very hard) to ensure it works properly. If you do not wish to use a liquid descaler (in this case please read the safety
data sheets of descaling), you can simply break off the deposit, taking care not to damage the heating element's
cladding. The magnesium anode (N fig. 8) must be replaced every two years, otherwise the decay of the warranty.
In the presence of aggressive or waters rich in chloride it is recommended to check the status of the anode annually.
To remove this, disassemble the heating element and unscrew from the support bracket.
17
