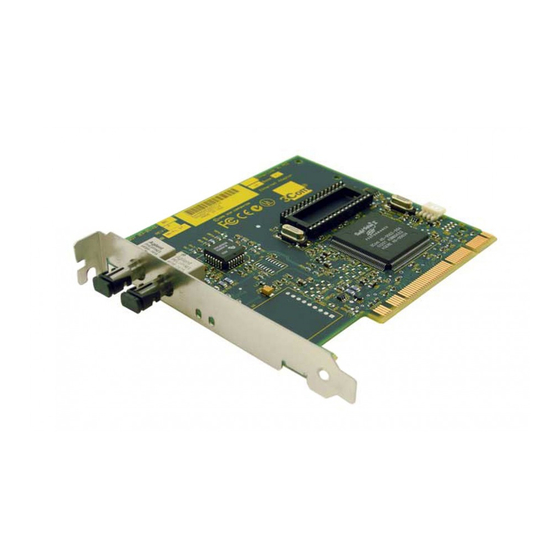
3Com Etherlink 3C905B-TX Manual rápido - Página 10
Procurar online ou descarregar pdf Manual rápido para Placa de rede 3Com Etherlink 3C905B-TX. 3Com Etherlink 3C905B-TX 15 páginas. Etherlink pci network interface cards
Também para 3Com Etherlink 3C905B-TX: Manual rápido (12 páginas), Manual rápido (12 páginas)

rn_body.SML Page 8 Wednesday, June 9, 1999 7:56 AM
8
E
L
®
PCI N
THER
INK
6 In the specified fields of the Identification tab screen,
enter the following information, and then click OK:
Computer Name—Identifies the PC on the network
I
for other users. This entry must be a unique name of
15 characters or fewer, containing no spaces.
Workgroup—Identifies the group (for example, your
I
department name) to which your PC belongs. If your PC
is connected to a peer-to-peer network, this entry must
be exactly the same for all the PCs in your network.
Computer Description—Displays additional details to
I
other users on the network about this PC. For example,
you could specify that the PC has a printer attached.
Filling in this field is optional.
7 Remove the EtherCD from the CD-ROM drive, insert the
Windows 95 CD, and then click OK.
Files are copied. You are prompted to restart the PC.
8 Remove the Windows 95 CD, and then click Yes to
restart the PC.
You must restart the PC to complete the installation.
The installation is complete. Go to
Installation" later in this guide to confirm that the NIC is
properly installed.
After Windows restarts, double-click the Network icon
in the Windows Control Panel and make sure that
the correct configuration settings are selected for your
network environment. Contact your system administrator
for assistance.
Windows 98
To install the network driver:
1 Turn on the power to the PC.
Windows 98 detects the NIC. The Insert Disk dialog box
appears, prompting you to insert the EtherCD.
If the Add New Hardware Wizard starts, the NIC
preinstallation program was not run on the PC. Follow
the instructions in the WIN98.TXT file located in the
Help directory on the EtherCD to continue the installation.
2 Make sure that the EtherCD is inserted in the
CD-ROM drive.
Artisan Scientific - Quality Instrumentation ... Guaranteed | (888) 88-SOURCE | www.artisan-scientific.com
I
C
Q
G
ETWORK
NTERFACE
ARDS
UICK
"Verifying Successful
UIDE
