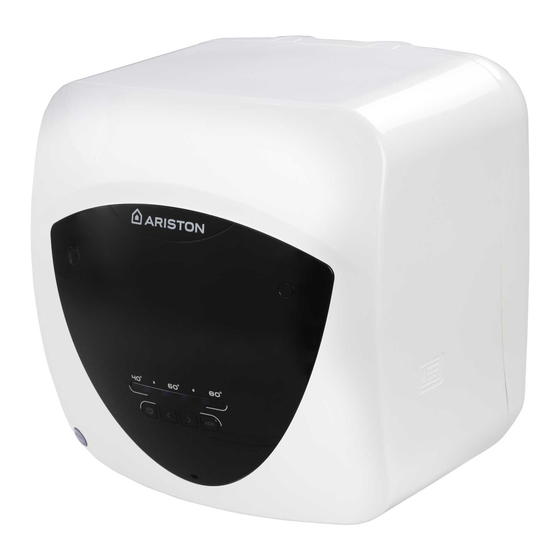
Ariston Andris Lux 10 Manual de instruções de montagem e funcionamento - Página 6
Procurar online ou descarregar pdf Manual de instruções de montagem e funcionamento para Aquecedor de água Ariston Andris Lux 10. Ariston Andris Lux 10 16 páginas. Electric water heater
CAUTION: Observe all general warnings and safety standards listed at the beginning
of this text in full; all such instructions are obligatory.
The appliance must be installed and commissioned by a qualified technician in accordance with estab-
lished regulations and local health and safety regulations.
We recommend installing the appliance as close as possible to the delivery points to minimise heat loss
along the pipes. Local regulations may provide for restrictions on installation in bathrooms; observe any
regulatory minimum distances. The range of water heaters includes models set up to be assembled
above or below the point of use (sink, basin or shower). The models intended to be assembled under
the point of use are called "undersink". To facilitate maintenance, make sure there is a clearance of at
least 50 cm inside the enclosure for access to the electrical equipment. Fix the supplied bracket to the
wall with screws and dowels of adequate size for the type of wall. Hook the water heater to the bracket
and pull down to make sure it is secured.
HYDRAULIC CONNECTION
The INSTALLATION of the appliance must strictly comply with SANS 10254 code of practice, a copy of
which is obtainable from the South African Bureau of Standards. Installation, maintenance and repairs to
the appliance not complying with the SANS 10254 code of practice will invalidate the Warranty.
If you decide to install mixer units (taps or shower), purge the pipes of any potentially damaging impuri-
ties first. The appliance must not be supplied with water of hardness less than 12°F, nor with especially
hard water (greater than 25°F); we recommend installing a water softener, properly calibrated and con-
trolled - do not allow the residual hardness to fall below 15°F. Before using the appliance, we recommend
filling its tank with water and draining it completely so as to remove any residual impurities.
Specific taps must be used for this type of installation and the connection must be implemented as
shown in the diagram in Fig. 1. With this solution, the water heater can work at any mains pressure and
no type of tap must be connected on the outlet pipe, which acts as a vent.
We reccomend that all exposed metal pipes must be lagged.
The hydraulic adaptors, which are delivered with the product, must be installed on the thread connection
with a sealing.
ELECTRICAL CONNECTION
Before performing any operations, disconnect the appliance from the electricity mains using the
external switch.
1. Electrical installation must comply with SANS 10142 – Electrical code for wiring of premises and should
be tested by the local electricity authority. The fixed wiring must incorporate a means of disconnecting
from the main supply having a separation of at least3 mm in all poles.
2. Check the circuit breaker on the distribution board is the correct amperage for the unit.
3. Check that all electrical connections are secure. with a sealing.
!WARNING! THIS APPLIANCE MUST BE EARTHED.
4. Replace electrical cover and ensure geyser is full of water before switching on electricity, even for
testing purposes.
5. Fixed wiring must incorporate a means of disconnecting from the main supply, having a separation of
at least 3 mm in a pole.
6 / EN
INSTALLING NORMS (for the installer)