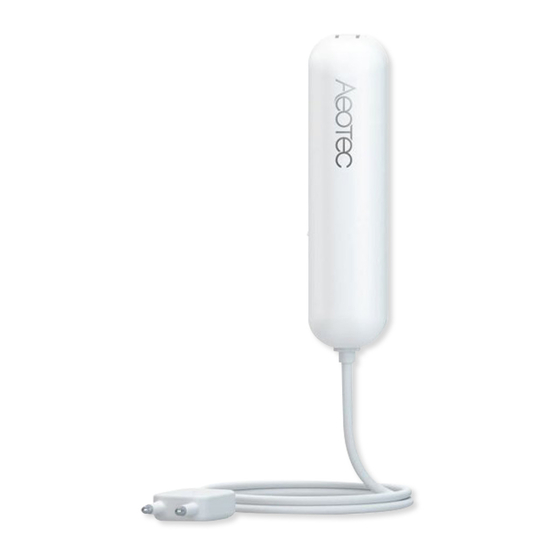
Aeotec Water Sensor 7 Pro Manual de início rápido - Página 2
Procurar online ou descarregar pdf Manual de início rápido para Acessórios Aeotec Water Sensor 7 Pro. Aeotec Water Sensor 7 Pro 8 páginas. Water sensor
Também para Aeotec Water Sensor 7 Pro: Manual (3 páginas), Manual do utilizador (9 páginas), Manual do utilizador (13 páginas), Manual do utilizador (14 páginas), Manual do utilizador (9 páginas)

SmartStart. Available in selected Z-Wave Plus devices built upon 500 series technology and all devices built
upon 700 series technology, SmartStart lets you setup Z-Wave devices in seconds.Using SmartStart enabled
apps, simply scan the QR code on any compatible app to connect it to your Z-Wave gateway.
For more information about Z-Wave technology, devices, white papers etc. please refer to www.z-wave.info.
Product Description
The AEOTEC Water Sensor 7 Pro is a sensor, which detects water leakage, measures temperature and
humidity. The sensor is easily retrofittable.
Thanks to its slim design the AEOTEC Water Sensor 7 Pro can be installed in any bathroom, behind a kitchen
sink or in any other tight space. The sensor just has to be installed on the wall and the sensor probe must be
put on the floor.
By using the internal temperature and humidity sensor, the device will report on any significant change.
Tripple clicking the tamper button includes (adds) and excludes (removes) the device. A single click on the
button will wake up the device. The device supports the Z-Wave Security S2 framework with authenticated and
unauthenticated network keys. Please follow the instructions on the central controller when including. The
device also supports SmartStart.
Prepare for Installation / Reset
Please read the user manual before installing the product.
In order to include (add) a Z-Wave device to a network it must be in factory default state. Please make sure
to reset the device into factory default. You can do this by performing an Exclusion operation as described
below in the manual. Every Z-Wave controller is able to perform this operation however it is recommended to
use the primary controller of the previous network to make sure the very device is excluded properly from this
network.
Reset to factory default
This device also allows to be reset without any involvement of a Z-Wave controller. This procedure should only
be used when the primary controller is inoperable.
Once Cover is removed and the tamper switch is tripped, push the tamper for 5 seconds until the RED LED
blinks once. Then release tamper and push it again for 5 seconds while the RED LED is blinking until the
GREEN LED blinks once.
Safety Warning for Batteries
The product contains batteries. Please remove the batteries when the device is not used. Do not mix batteries
of different charging level or different brands.
Installation
The sensor can be mounted on the wall. Mounting can be accomplished either using the tape by peeling off the
protection foil or using two screws with the holes inside the battery compartment.
Water Sensor probe which is hardwired to the Main Unit must be put on the floor or onto any other surface,
where water leakage must be detected.
Inclusion/Exclusion
On factory default the device does not belong to any Z-Wave network. The device needs to be added to an
existing wireless network to communicate with the devices of this network. This process is called Inclusion.
Devices can also be removed from a network. This process is called Exclusion. Both processes are initiated
by the primary controller of the Z-Wave network. This controller is turned into exclusion respective inclusion
mode. Inclusion and Exclusion is then performed doing a special manual action right on the device.
Inclusion (If your gateway does not support SmartStart)
1. Open the housing.
2. Remove the battery protection.
3. Press the tamper on the side of the appliance three times quickly.
