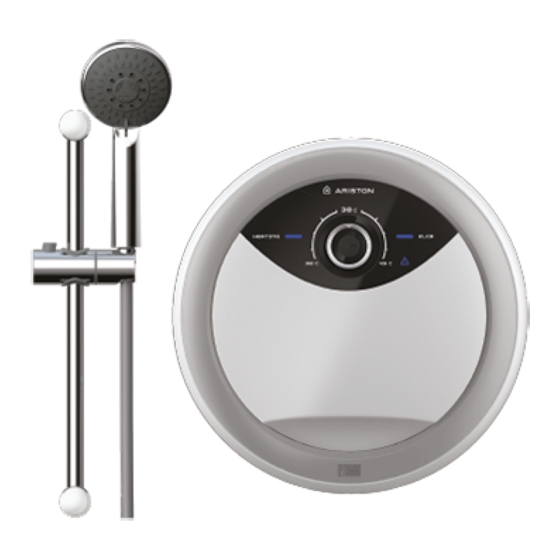
Ariston RMC45PE-VN Manual - Página 7
Procurar online ou descarregar pdf Manual para Aquecedor de água Ariston RMC45PE-VN. Ariston RMC45PE-VN 23 páginas. Electric instant water heater

Water
connection
Testing
connection
Electrical
connection
*THE WATER INLET AND OUTLET MUST BE INSTALLED CORRECTLY;
OTHERWISE THE HEATER CAN NOT FUNCTION.
*DO NOT USE PLUMBING CEMENT ON CONNECTION. IF NECESSAY, USE
ONLY THREAD OR SEALING TAPE.
1. Connect the stop valve to the water inlet with rubber washer. Use correct
tools to tighten and be careful not to break the plastic nut.
2. Connect the incoming water piping end to the stop valve (1/2'' BSP).
3. Connect the soft hose and hand shower to the outlet of the heater; be sure
to put in the rubber washer.
4. Hook the hand shower to the shower hanger and adjust to your ideal position.
IMPORTANT: the 'Water Outlet' can only be fitted to the soft hose
and hand shower set provided. NO CONTROL VALVE OR FITTING
CAN BE FITTED TO THE WATER OUTLET.
In the condition of without power supply, turn on the water mains to drain out all
plumbing dirt and to fill up the heater tank. Check for any water leakage.
IMPORTANT: this step will prevent damage to the heating element.
IMPORTANT WARNING
-This appliance must be EARTHED. Improper grounding could cause
electrical shock.
Additional electric switch should be far away from the water heater (out
of reach of shower spray).
-Remember to switch off at mains before carrying out any electrical work.
1. Use double coated flexible cable having nominal cross-sectional area which
could be seen in table 1.
2. lead the power cable from the circuit breaker to "ON/OFF" double bipolar
switch (which having a contact opening at least 3mm in all poles) outside the
bathroom, then lead a cable connected to terminal block inside the unit(fig.3a).
3. Insert the cable through core hitch 'A' for side entry or hole 'B' below the
bottom cover for wall embedded cable (fig.3b).
4.Connect the cable to terminal block and fully tighten them as follow(Fig. 3b).
BROWN or RED for LIVE (L)
BLUE or BLACK for NEUTRAL(N)
GREEN or GREEN/YEOLLOW for EARTH(E)
5. Make sure the wiring connection is tight, then close the front cover.
6. Fix back the screws.
5
