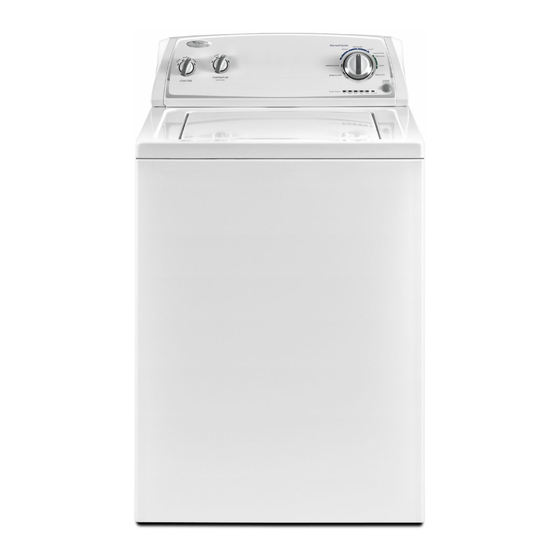
Whirlpool 1CWTW4840YW1 Manual de instruções de instalação - Página 5
Procurar online ou descarregar pdf Manual de instruções de instalação para Máquina de lavar roupa Whirlpool 1CWTW4840YW1. Whirlpool 1CWTW4840YW1 16 páginas.
Também para Whirlpool 1CWTW4840YW1: Manual de utilização e cuidados (28 páginas)
Remove
packing
tray from tub
Remove tape from washer lid, open lid and remove cardboard
packing tray from tub. Be sure to remove all parts from tray.
NOTE: Keep tray in case you need to move washer later.
(f4.
Free power cord
Firmly grasp power cord plug and pull to free from rear panel.
Gently place power cord over console to allow free access
to back of washer.
CON_CT
DRAIN
HOSE
Attach
drain
hose to drain
port
_"6. Place drain
hose in standpipe
Drain
N
N
Place hose into standpipe
(shown in picture) or over side of
laundry tub.
iMPORTANT: 4.5" (114 mm) of drain hose should be inside
standpipe; do not force excess hose into standpipe or lay on
bottom of laundry tub. Drain hose form must be used.
7.
Remove
drain
hose form
(floor drain
installations
only)
For floor drain installations, you will need to remove the drain
hose form from the end of the drain hose. You may need
additional parts with separate directions. See "Tools and Parts".
Remove the red plastic plug from the black drain port on the
back of the washer.
If clamp is not already in place on elbow end of drain hose,
slide it over end as shown. Squeeze clamp with pliers and
slide black elbow end of drain hose onto black drain port
and secure with clamp.
For a laundry tub or standpipe drain, go to step 6.
For a floor drain, remove the preinstalled drain hose form as
shown in Step 7. You may need additional parts with separate
directions. See "Tools and Parts".