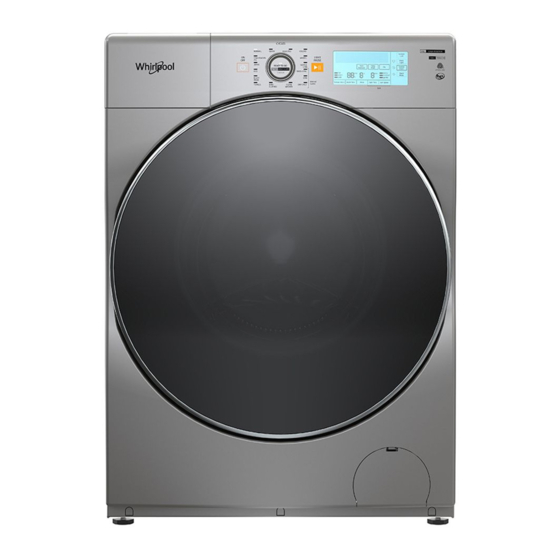
Whirlpool 7MWFC5090KC Manual de utilização e cuidados e instruções de instalação - Página 16
Procurar online ou descarregar pdf Manual de utilização e cuidados e instruções de instalação para Máquina de lavar roupa Whirlpool 7MWFC5090KC. Whirlpool 7MWFC5090KC 40 páginas. Smart all-in-one washer and dryer

Smart All-In-One Washer/Dryer Maintenance
CLEANING THE WASHER/DRYER
INTERNALLY
Every two months, perform the internal cleaning of
Washer & Dryer following the steps below:
1. Make sure that there are no items of clothing in the Washer/
Dryer.
2. Select the Clean Washer cycle on the panel.
3. Let the Washer/Dryer run the whole cycle.
IMPORTANT: When selecting the Clean Washer cycle, do
not use washing inputs (bleach, detergent or softener) - in
the dispenser or in the basket.
16
CLEANING THE WASHERDRYER
EXTERNALLY
In order not to damage and increase the life of your
Washer/ Dryer:
■ Clean the lid glass weekly, avoiding accumulation of debris.
Never use window cleaners to avoid damaging the material
used in Washer/Dryer.
■ Use neutral detergent, applied with a sponge or soft cloth.
Never use alcohol, removers or abrasive substances,
especially on the external display of the door, as it may
cause a chemical reaction or scratches, damaging the
Washer/Dryer.
■ Do not use water jets when cleaning your Washer/Dryer,
as this may damage it.
CLEANING THE DOOR SEAL
Always wipe off dirt and lint remains with a soft sponge after
use.
If there are objects, such as pins, in the rubber gaps, remove
them.
CLEANING THE DISPENSER
Clean the dispenser regularly to ensure the proper
functioning of your Washer/Dryer.
1. Open dispenser's drawer until it stops and locks.
2. Press the lock on the bottom of the dispenser and
simultaneously pull it out,shown in the picture, so that it
unlocks and be removed.
3. Wash the dispenser with running water and a brush or
paintbrush.
4. Clean the slot, in which the dispenser was removed, with
a sponge soaked in water.
5. Put the dispenser back in the product.
