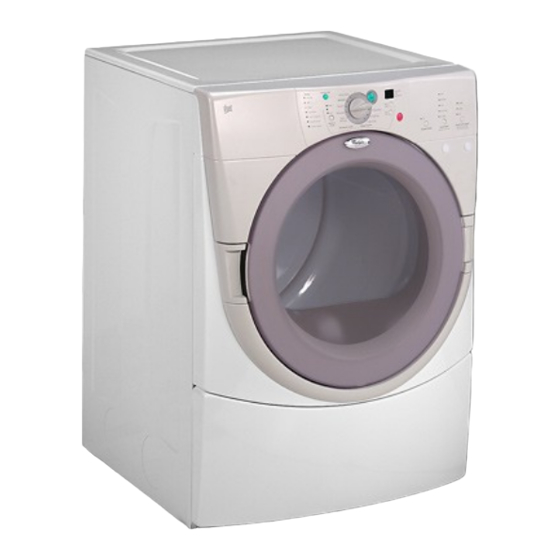
Whirlpool Duet GGW9200LW Manual de utilização e cuidados - Página 12
Procurar online ou descarregar pdf Manual de utilização e cuidados para Secador Whirlpool Duet GGW9200LW. Whirlpool Duet GGW9200LW 48 páginas. Electronic gas dryer

Check the levelness of the dryer. Check levelness first
side-to-side,
then front-to-back.
1. Using a 4 in. (10.2 cm) clamp, connect vent to exhaust outlet
in dryer. If connecting to existing vent, make sure the vent is
clean. The dryer vent must fit over the dryer exhaust outlet
and inside the exhaust hood. Make sure the vent is secured
to exhaust hood with a 4 in. (10.2 cm) clamp.
2. Move dryer into final position. Do not crush or kink vent.
Make sure dryer is level.
3. (On gas models) Check to be sure there are no kinks in the
flexible gas line.
If the dryer is not level, prop up the dryer using a wood block.
Use a wrench to adjust the legs up or down and check again for
levelness.
NOTE: It might be necessary to level the dryer again after it has
been moved into its final position.
1,
2,
Remove the red cap from the gas pipe. Move the dryer close
to its final position.
Using a wrench to tighten, connect the gas supply to the
dryer. Use pipe joint compound on all non-flared male
threads. If flexible metal tubing is used, be sure there are
no kinks.
NOTE: For L.R gas connections, you must use pipe joint
compound
resistant to the action of LR gas. Do not use
TEFLON _ tape.
A combination
of pipe fittings must be used to connect the
dryer to the existing gas line. Shown following is a
recommended
connection. Your connection may be different,
according to the supply line type, size, and location.
You can change your door swing from a right-side opening to a
left-side opening, if desired.
Locate the door reversing kit that was shipped in the drum of
your dryer. You will need these parts to complete the door
reversal.
Loosen
door trim
1. Place a towel or soft cloth on top of the dryer or work space
to protect the surface.
2. Loosen the plastic trim above and below the handle filler.
Carefully pull out on the trim until it unsnaps. Remove the
handle filler and set aside.
3,
4,
!
i
1
2
1. _in.
fexible gas connector
2. % in. dryer pipe
3. _in.
to _in, pipe elbow
4. %in. pipe-to-fare
adapter fitting
Open the shutoff valve in the supply line. The valve is open
when the handle is parallel to the gas pipe.
!. Closed valve
2. Open valve
Test all connections
by brushing on an approved
non-corrosive
leak-detection
solution. Bubbles will show a
leak. Correct any leak found.
3,
2
1. Plastic trim
2. Handle filler
Loosen the plastic trim above and below the hinge cover.
Carefully pull out on the trim until it unsnaps. Remove the
hinge cover and set aside.
2
1. Plastic trim
2. Hinge cover
Keep the original handle filler and hinge cover in case you
decide to return the door to its original position.
A new handle filler and hinge cover are provided in the door
reversing kit that will be installed in a later step.
12
