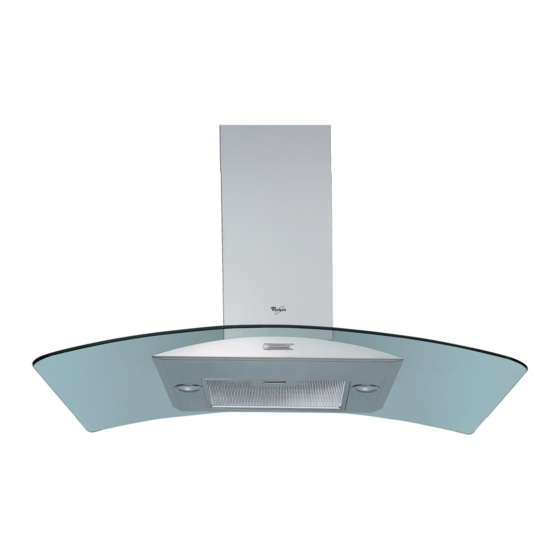
Whirlpool AKR 951 Manual de instruções de utilização - Página 8
Procurar online ou descarregar pdf Manual de instruções de utilização para Campânula de ventilação Whirlpool AKR 951. Whirlpool AKR 951 9 páginas. 100cm island curved glass cooker hood, akr 951/1 ix
Também para Whirlpool AKR 951: Folha de instalação (10 páginas), Folha de instalação (20 páginas)

INSTALLATION - ASSEMBLY INSTRUCTIONS
Expansion plugs are provided to secure the hood to most types of ceilings. However, a qualified technician is needed to make sure that
the plugs are suitable for your ceiling. The wall/ceiling must be strong enough to take the weight of the hood.
Disconnect the power supply at the home main switch during electrical connections.
FIG.1
1. Adjust the extension of the hood support structure, as the final height of the hood depends on this.
Note: In some cases the top section of the truss is fixed to the bottom section with 1 or more screws. Check for and temporarily
remove any screws to enable adjustment of the support structure.
2. Fix the two sections of the structure using 16 screws (4 each corner).
For extension beyond the minimum height, fit 1 or 2 brackets (depending on how many are supplied) to the top section to reinforce it.
Note: for transport purposes, 1 bracket may be temporarily fixed to the truss already with 2 screws; if so, move it to the desired
position and complete the fixing with a further 6 screws.
To fit the brackets, proceed as follows:
a. Open the brackets slightly in order to fix them to the outside of the structure.
b. Position the reinforcement bracket directly above the point where the two sections of the hood are joined and secure with 8 screws
(2 each corner).
If supplied, fix the second reinforcement bracket so that it is equidistant from the first reinforcement bracket and the top edge of the
truss, secure with 8 screws (2 each corner).
Note: when positioning the reinforcement bracket/s, make sure they do not hinder fixture of the exhaust pipe (extractor version) or
the deflector (filter version).
3. Hook the hood to the truss, check for perfect hooking - to hook the hood to the truss tighten the 16 screws (4 each corner).
4. Place the ceiling hole diagram directly above the cooktop (the centre of the diagram must match the centre of the cooktop and the
edges must be parallel to the sides of the cooktop - the side of the diagram with the wording FRONT corresponds to the control
panel side). Prepare the electrical connection.
5. Drill as shown (6 holes for 6 wall plugs - 4 plugs for hooking), screw the 4 outer screws leaving a space of about 1 cm between the
screw head and the ceiling.
6. Hook the truss on the ceiling to the 4 screws (see step 4).
7. Tighten the 4 screws.
8. Insert and tighten another 2 screws in the remaining free holes for secure fixing.
9. Fit an exhaust duct inside the truss and connect it to the collar of the motor compartment (exhaust pipe and clamps are not
provided). The exhaust duct must be long enough to vent externally (Extractor version) or reach the deflector F (Filter version).
10. For Filter Version only: fit the deflector F sul on the truss and fix it to the bracket with 4 screws, then connect the exhuast duct to
the collar on the deflector.
11. Carry out the electrical connection to the mains power supply, only turn on the power supply with assembly completed.
FIG.2
12. Fit the nuts with fixing hooks suppliedinside the top and bottom sections of the flues at the rectangular slots. A total of 14 nuts must
be fitted.
13. Join the two top sections of the flue to cover the truss so that one of the slots on the sections is on the same side as the control
panel and the other is on the opposite side.
Screw the two sections with 8 screws (4 each side - see the plan diagram for joining the two sections).
14. Fix the top flue assembly to the truss, near the ceiling, with two screws (one each side).
FIG.3
15. Join the two bottom sections of the flue covering the truss using 6 screws (3 each side - also see the plan diagram for joining the
two sections).
16. Insert the bottom section of the flue in its seat so that it completely covers the motor compartment and electrical connection box,
then secure it from inside the hood using two screws.
17. Apply the 2 tabs (supplied) to cover the fixing points of the bottom flue sections
(IMPORTANT! THE TABS FOR THE BOTTOM FLUE ARE THE NARROWER AND LESS DEEP ONES).
The wider and deeper tabs are those used for the top flue, and must be cut to size.
18. Turn the mains power on again at the central electrical panel and check for correct hood operation.
5019 318 33303
TR GB
