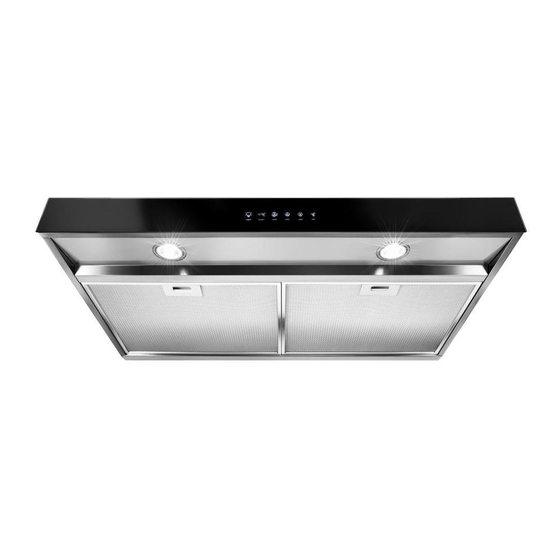
Whirlpool YRH2330XJQ2 Manual de instruções de instalação - Página 6
Procurar online ou descarregar pdf Manual de instruções de instalação para Campânula de ventilação Whirlpool YRH2330XJQ2. Whirlpool YRH2330XJQ2 20 páginas. 30" (76.2 cm)

7-1/2"
(19.1 cm)
centerline
7.
To wire through top, mark a line
7-1/2" (19.1 cm) from the right of
the centerline on the underside of
the cabinet. Mark the point on this
line that is 2" (5.1 cm) from back
wall. Drill a 1-1/4" (3.0 cm) diameter
hole through the cabinet at this
point.
(19.1 mm)
7-1/2"
65-1/4"
(19.1 cm)
(165.7 cm)
to floor
centerline
To wire through rear, mark a line
7-1/2" (19.1 cm) from the right of
the centerline on the wall. Mark
the point on this line that is 65-1/4"
(165.7 cm) from the floor [or 3/4"
(19.1 mm) from underside of
cabinet]. Drill a 1-1/4" (3.0 cm)
diameter hole through wall at this
point.
Page 6
cabinet
2" (5.1 cm)
cutouts
from wall
(not cabinet
frame)
8.
To make a 4" x 10-1/2" (10.2 x
26.7 cm) rectangle on the
underside of cabinet top and
bottom:
a. Mark lines 1-1/2" (3.8 cm) and
5-1/2" (14 cm) from the back
wall on the centerline of the
3/4"
underside of cabinet.
b. Mark lines 5-1/4" (13.3 cm) to
the right and left of the
centerline on the underside of
cabinet.
c. Use saber and keyhole saws to
cut a rectangular opening for
vent.
d. Repeat steps a-c for the
underside of the top of the
cabinet.
If venting through the wall with
3-1/4" x 10" (8.3 x 25.4 cm)
rectangular vent —
To make a 4" x 10-1/2" (10.2 x
26.7 cm) rectangle in the wall:
a. Measure 1/8" (3.2 mm) and
3-5/8" (9.2 cm) down from
underside of cabinet and mark
on the centerline on the back
wall.
b. Mark lines 5-1/4" (13.3 cm) to
the right and left of the
centerline on the underside of
cabinet.
c. Use saber and keyhole saws to
cut a rectangular opening for
vent.
To transition from a 3-1/4" x 10"
(8.3 x 25.4 cm) rectangular vent
to a 7" (17.8 cm) round vent and
vent through the roof —
Start by making a 4" x 10-1/2" (10.2
x 26.7 cm) rectangle on the
*1-1/2"
(3.8 cm)
*5-1/2"
(14 cm)
5-1/4"
(13.3 cm)
* from wall, not
cabinet frame
*1-1/2"
(3.8 cm)
*5-1/2"
(14 cm)
5-1/4" (13.3 cm)
* from wall, not
cabinet frame
underside of cabinet bottom:
a. Mark lines 1-1/2" (3.8 cm) and
5-1/2" (13.3 cm) from the back
wall on the centerline of the
underside of cabinet.
b. Mark lines 5-1/4" (13.3 cm) to the
right and left of the centerline
on the underside of cabinet.
c. Use saber and keyhole saws to
cut a rectangular opening for
vent.
7-5/8"
(19.4 cm)
7-1/8"
(18.1 cm)
R
*5" (12.7 cm)
*5-1/2" (14 cm)
cabinet
cutouts
* from wall, not
cabinet frame
Now make a 7-1/8" x 7-5/8" (18.1 x
19.4 cm) slot on the underside of
the cabinet tops.
d. Mark lines 5" (12.7 cm) and
5-1/2" (14 cm) from the back
wall on the centerline on the
underside of the top of cabinet.
e. Draw two 7-1/8" (18.1 cm) circles
using the marks made in step d
as center points.
f. Use saber and keyhole saws to
cut a slotted (oval) opening to
make installing 7" (17.8 cm)
round vent easier.
*1-1/2"
(3.8 cm)
