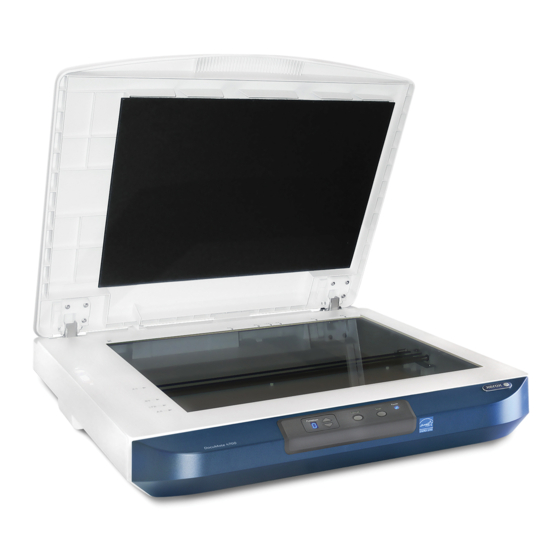
Xerox Xerox DocuMate 4790 Configuração - Página 3
Procurar online ou descarregar pdf Configuração para Impressora Xerox Xerox DocuMate 4790. Xerox Xerox DocuMate 4790 6 páginas. Documate series for use with xerox freeflow makeready application
Também para Xerox Xerox DocuMate 4790: Manual (24 páginas), Características Manual (26 páginas)

Setting up Xerox
®
vii) Select each scanner in turn to verify the installation was
successful by scanning a test page.
Do not
select a scanner source with 'WIA' in the listed name.
Results will be less than desirable due to a limited feature set,
and are untested in this environment.
viii) During the test phase, when the 'Scan' button has been clicked,
the Driver UI will be displayed. First, set driver to 'Advanced'
(Dropdown
1), and then navigate to the following tabs
for your installed scanner(s).
ix) Locate the 'Color Correction' drop-down. There are two choices
available:
"Monitor" uses Gamma tables optimized for LCD display and should
be used for image archiving.
"Printer" uses Gamma tables optimized for reproduction and
recommended for use with FreeFlow MakeReady in a production
print environment.
Page 3
DocuMate
Scanners and Xerox
®
(shown below)
FreeFlow MakeReady
®
x) Select the Color Correction best suited to your work environment,
and click 'Save'.
Note:
If using flatbed and ADF scanners, it is advisable to
set the Color Correction the same for both.
xi) Once testing has been concluded, and your scanners are working
as expected, you can either combine the scanners as shown in the
next section, or move directly to the last section.
3. Combining Scanner Drivers
i) This can only be achieved after completing section '2. Driver
Installation'. If you are not using a flatbed scanner, or wish to keep
the scanners drivers separate then this section can be skipped.
ii) Depending on your Operating System, navigate to the
corresponding hardware device page in the Windows Control Panel.
For Windows XP and Windows Vista
Navigate to
"Scanners and Cameras"
window
Right-click on the flatbed
scanner, and select
'Properties'
For Windows 8 and Windows 7
Navigate to "Devices and
Printers" window
Right-click on the flatbed
scanner, and select 'Scan
Properties'
®
