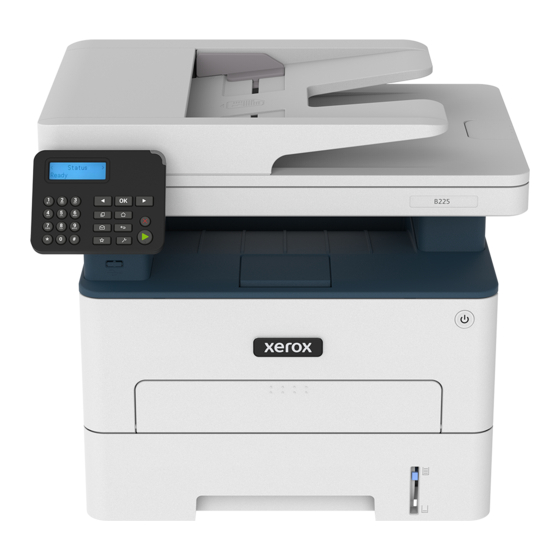
Xerox B235 Manual de referência rápida - Página 11
Procurar online ou descarregar pdf Manual de referência rápida para Impressora tudo em um Xerox B235. Xerox B235 16 páginas.

U U s s i i n n g g t t h h e e S S e e t t t t i i n n g g s s M M e e n n u u i i n n t t h h e e P P r r i i n n t t e e r r
1. From the control panel, navigate to:
Settings > Network/Ports > Wireless > Setup On Printer Panel
For non-touch-screen printer models, press
through the settings.
2. Select a Wi-Fi network, and then type the network password.
Note:
For Wi-Fi-network-ready printer models, a prompt to
set up the Wi-Fi network appears during initial setup.
C C o o n n n n e e c c t t i i n n g g a a C C o o m m p p u u t t e e r r t t o o t t h h e e P P r r i i n n t t e e r r
Before connecting your computer, make sure to do the following:
• Enable Wi-Fi Direct in the printer. From the control panel, navigate
to:
Settings > Network/Ports > Wi-Fi Direct > Enable Wi-Fi Direct >
On
• Take note of the Wi-Fi Direct name. From the control panel,
navigate to:
Settings > Network/Ports > Wi-Fi Direct > Wi-Fi Direct Name
• Take note of the Wi-Fi Direct password. From the control panel,
navigate to:
Settings > Network/Ports > Wi-Fi Direct > Wi-Fi Direct Password
•
Note:
You can also configure the Wi-Fi Direct name
and password.
For non-touch-screen printer models, press
the settings.
F F o o r r W W i i n n d d o o w w s s U U s s e e r r s s
1. Open Printers & scanners, and then click Add a printer or
scanner.
2. Click Show Wi-Fi Direct printers, and then select the printer Wi-Fi
Direct name.
3. From the printer display, take note of the eight-digit PIN of the
printer.
4. Enter the PIN on the computer.
Note:
If the print driver is not already installed, then
Windows downloads the appropriate driver.
F F o o r r M M a a c c i i n n t t o o s s h h U U s s e e r r s s
to navigate
1. Click the wireless icon, and then select the printer Wi-Fi Direct
name.
Note:
The string DIRECT-xy (where x and y are two random
characters) is added before the Wi-Fi Direct name.
2. Type the Wi-Fi Direct password.
Note:
Switch your computer back to its previous network
after disconnecting from the Wi-Fi Direct connection.
Clearing Jams
A A v v o o i i d d i i n n g g J J a a m m s s
L L o o a a d d P P a a p p e e r r P P r r o o p p e e r r l l y y
• Make sure that the paper lies flat in the tray.
Correct loading of paper
to navigate through
• Do not load or remove a tray while the printer is printing.
• Do not load too much paper. Make sure that the stack height is
below the maximum paper fill indicator.
• Do not slide paper into the tray. Load paper as shown in the
illustration.
• Make sure that the paper guides are positioned correctly and are
not pressing tightly against the paper or envelopes.
• For two-sided printing on A4-size paper, make sure that the paper
size setting in the duplex unit is set to A4.
• For two-sided printing on letter-, legal-, Oficio-, or folio-size paper,
make sure that the paper size setting in the duplex unit is set to
Letter.
• Push the tray firmly into the printer after loading paper.
U U s s e e R R e e c c o o m m m m e e n n d d e e d d P P a a p p e e r r
Incorrect loading of paper
• Use only recommended paper or specialty media.
• Do not load paper that is wrinkled, creased, damp, bent, or curled.
• Flex, fan, and align the paper edges before loading.
• Do not use paper that has been cut or trimmed by hand.
• Do not mix paper sizes, weights, or types in the same tray.
• Make sure that the paper size and type are set correctly on the
computer or printer control panel.
• Store paper according to manufacturer recommendations.
11
