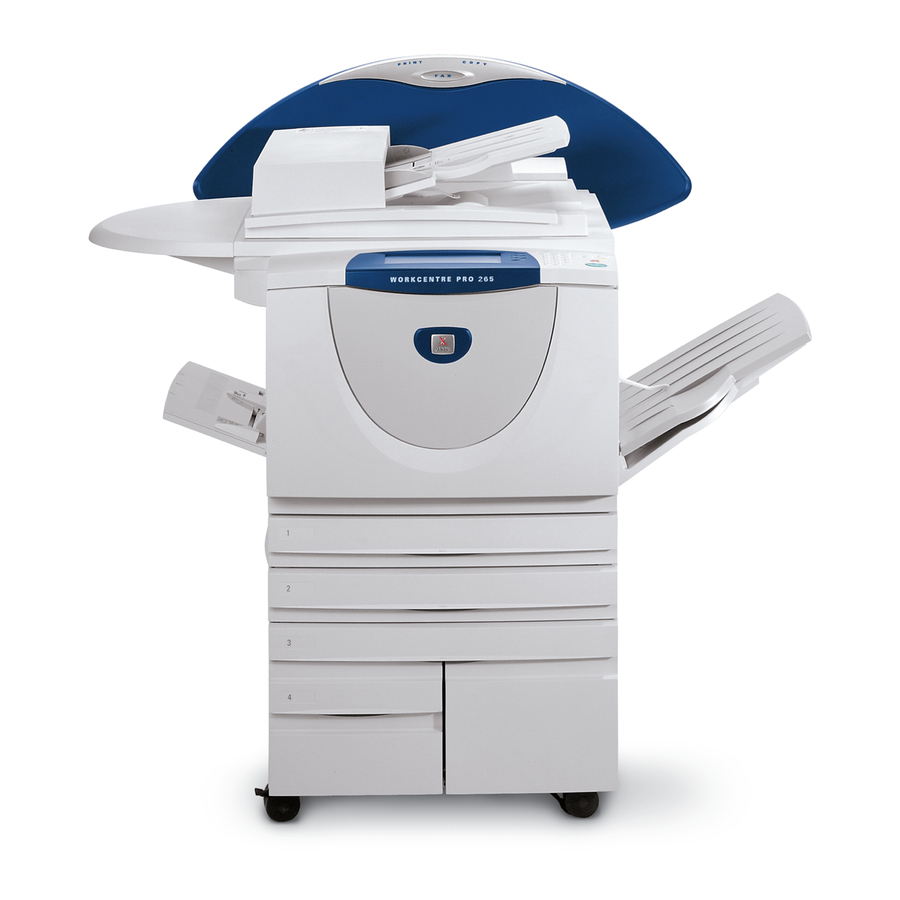
Xerox WorkCentre Pro 75 Manual de instalação de rede - Página 15
Procurar online ou descarregar pdf Manual de instalação de rede para Copiadora Xerox WorkCentre Pro 75. Xerox WorkCentre Pro 75 42 páginas. Pdl reference guide
Também para Xerox WorkCentre Pro 75: Manual de início rápido (16 páginas), Manual do utilizador (24 páginas), Manual de administração do sistema (30 páginas), Manual de referência (22 páginas)

Dynamic TCP/IP Address Assignment (DHCP/BOOTP/RARP)
Before You Start
Verify the Ethernet connection is complete and the
desired speed is set. Then return to this page.
NOTE: By default, DHCP is enabled on the printer.
DHCP/BOOTP/RARP servers vary in the information
that they return to the device requesting service. Consult
the documentation supplied with your DHCP or RARP
server software to verify what TCP/IP information it can
supply. Your printer can retrieve the following values
from DHCP, BOOTP and RARP servers:
TCP/IP Address
Host Name (DHCP)
Subnet Mask
Gateway TCP/IP Address
Broadcast Address (DHCP)
Domain Name (DHCP only)
Preferred and Alternate DNS Server (DHCP)
Wins Server (DHCP)
Go to the dynamic server and...
1.
Configure the DHCP, BOOTP, or RARP server with
the TCP/IP information you want assigned to your
printer. Use the documentation supplied with your
server for this task.
Go to the printer and...
2.
Connect your printer to the network with the
appropriate cabling.
3.
Enter the Tools pathway
a) Press the Access (
b) On the keypad enter 1111 or the current
password. Press the Enter button when
finished. The Touch Screen will be used for the
remainder of the data entry, unless instructed
otherwise.
4.
Enter the Network Setup menus.
a) Press the Connectivity and Network Setup
button.
b) Wait for the screen to refresh and press the
Network Setup button.
c) Press the TCP/IP Options button.
or
) button.
5.
Enable TCP/IP printing.
a) Press the TCP/IP Settings button.
b) Press the Protocol and Media button.
c) Press the Enable button.
d)
Press Save.
6.
Select either DHCP, BOOTP, or RARP as the
dynamic address source.
a) Press the Dynamic Addressing button. By
default, DHCP will be selected. To change or
disable DHCP, choose another dynamic
addressing method (BOOTP, DHCP, DHCP/
AutoNet, RARP) or Disabled. Press Save.
b) Press the Exit Tools button. Wait
approximately 2 minutes before you continue
to Step 7.
7.
Print a Configuration Report page and verify
the TCP/IP information was assigned correctly
by the dynamic server.
a) Repeat Steps 3a and 3b
b) Select System Setting.
c) Select Configuration Report.
d) Select Print Configuration Report Now.
e) Press the Cancel button.
f)
Press the Exit Tools button.
To change the host name...
8.
Set the Host Name
a) Repeat steps 3a-5a.
b) Press the Name/Address button.
c) By default, the printer assigns a default host
name. To change the host name, type the
host name EXACTLY as you want it to
appear with correct case. When finished
press the Save button twice to record the
changes and exit to the TCP/IP Settings
Screen.
15
604P14900
