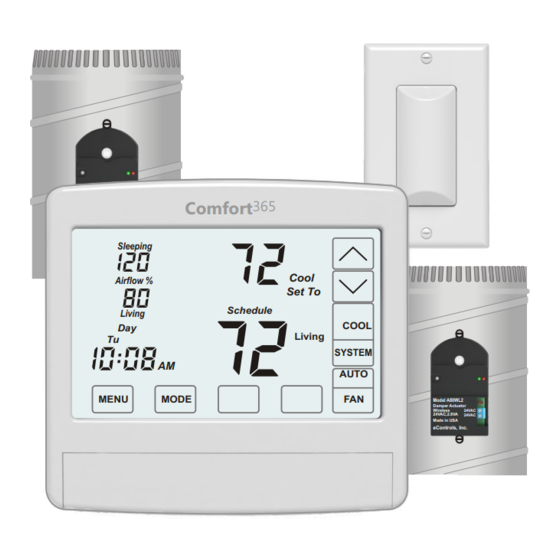
This manual is separated into two different sections: one for the Homeowner and one for the Installer.
INSTALLATION
!
CAUTIONS
Before installing the Comfort365 comfort system, turn
off all power to your HVAC system.
Read and follow all instructions carefully.
Read entire manual before installing products.
Follow all local electrical codes during installation. All
wiring must conform to local and national electrical
codes.
Use cautions when mounting components to surfaces
that may have concealed wiring beneath the surface.
When servicing Comfort365 system or accessing
products, turn off all power to these items.
ATTENTION INSTALLER
1)
Install and wire components to the thermostat.
(see Wiring section)
2)
Place the thermostat on the subbase. Do not install
batteries.
3)
Turn power to the HVAC equipment On.
4)
Check for Error Messages. (see Error Message section)
5)
Set equipment options 1-7 if different than factory
default settings. (see Installer Options section).
6)
Test the installation by initiating a heating call, cooling
call and fan call.
7)
Display the sleeping space temperature by touching the
area where Living and the living space temperature are
displayed. If the temperature reads too low or too high,
make sure the correct sensor(s) have been installed.
REMOVE SUBBASE
Place a slotted screwdriver in the
slots as shown and rotate to
remove subbase from the
thermostat housing.
INSTALLER SECTION
ATTENTION INSTALLER (cont.)
8)
Test the damper operation and airflow by initiating a
cooling call and overriding automatic airflow. Touch
the area where Airflow % is displayed. The set point
temperature will disappear. Use the UP key to direct
150% airflow to the sleeping space. You should feel
more airflow in the sleeping space compared to the
living space. The LED on the sleeping space damper
should be green (open) and the LED on the living
space damper should be off (partially closed).
Touch the Airflow % area again and use the DOWN
key to direct 150% airflow to the living space. You
should feel more airflow in the living space compared
to the sleeping space. The LED on the living space
damper should be green and the LED on the sleeping
space damper should be off.
9)
Install batteries and set the time and day (see Installing
Batteries and Set Time and Day section)
Airflow Control Off Option 15 turns off Airflow Control.
The thermostat controls the system, dampers fully open,
nighttime airflow control is disabled and airflow is no
longer displayed on the thermostat.
User Airflow Control (Manual Control) can be enabled
using the User Options.
Nighttime Airflow Control is defaulted to ON. If
bedrooms are located downstairs, consider turning this
option Off using the User Options if bedrooms are not
on the same trunk.
ATTACH SUBBASE TO WALL
Attach the subbase to an interior wall and about 5-feet above
the floor as shown using the screws and wall anchors supplied.
The wires to the wiring
hub pass through the
opening.
Page 2 of 16
R
C
W
Y
C O M
G
C L S
N C
O P N
T S
C O M
C L S
O P N
T S

