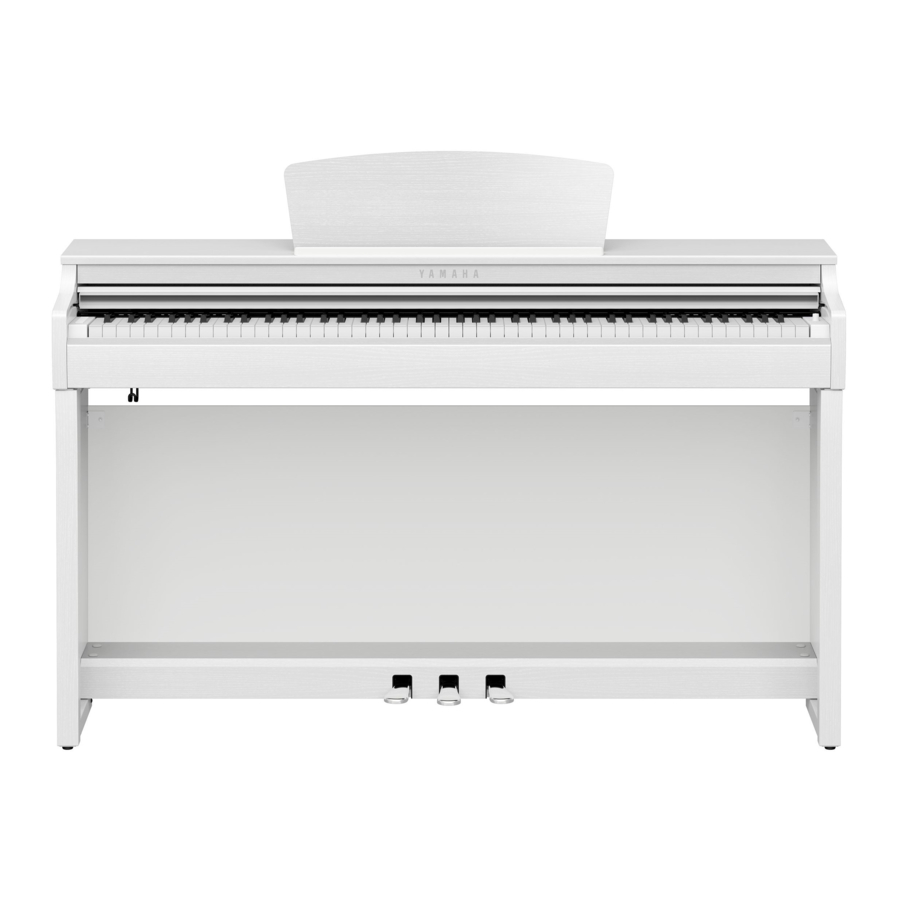
Yamaha Clavinova CLP-725 Manual do Proprietário - Página 10
Procurar online ou descarregar pdf Manual do Proprietário para Instrumento musical Yamaha Clavinova CLP-725. Yamaha Clavinova CLP-725 40 páginas.

Panel Controls and Terminals
3
9
4
5
6
7
8
[P] (Standby/On) switch......................... page 12
1
For turning the power on or setting to standby.
[MASTER VOLUME] knob
2
For adjusting the volume of the entire sound.
[DEMO/SONG] button..................... pages 19, 24
3
For playing the Demo Songs and the Preset Songs.
[PIANO/VOICE] button............. pages 18, 20, 22
4
For selecting a single Voice, two Voices for layering or
a Reverb Type.
[METRONOME] button .......................... page 17
5
For starting or stopping the metronome.
[+R], [–L] buttons ................. pages 17, 18, 24, 25
6
• In general, these are for selecting the next or
previous Voice.
• During Song playback, these are for selecting the
next or previous Song, and (while holding down
[PLAY]) turning on/off the right-hand and left-
hand Parts individually.
• During Metronome playback, these are for
increasing or decreasing the Tempo.
[REC] button ............................................ page 26
7
For recording your keyboard performance.
10
CLP-725 Owner's Manual
Music rest
Bottom
Bottom
)
!
(Keyboard side)
(Keyboard side)
Music braces
$
[PLAY] button.......................................... page 26
8
For playing back the recorded performance.
[FUNCTION] ................................... pages 12, 21
9
Simultaneously holding both [DEMO/SONG] and
[PIANO/VOICE] and pressing a specified key allows
you to change various settings, including Auto Power
off function, Transpose parameters, etc.
[PHONES] jacks....................................... page 13
)
For connecting a set of standard stereo headphones.
[USB TO HOST] terminal ....................... page 28
!
For connecting to a computer or a smart device such
as an iPhone or iPad.
[TO PEDAL] jack ..................................... page 32
@
For connecting the pedal cord.
DC IN jack................................................ page 12
#
For connecting the AC adaptor.
Pedals ....................................................... page 14
$
For controlling expression and sustain, just as on an
acoustic piano.
1
2
Bottom
@
#
(Keyboard side)
