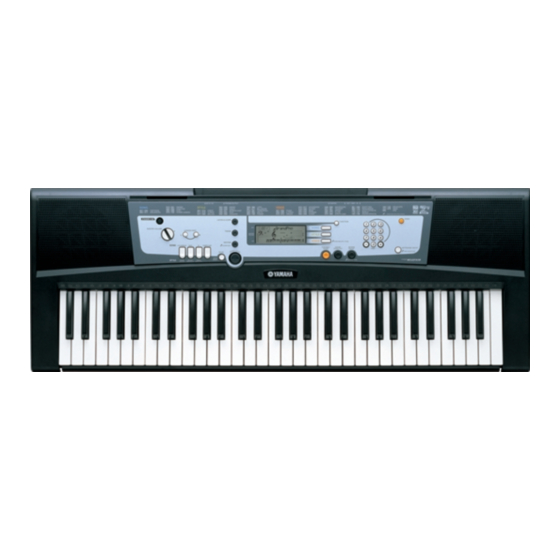
Yamaha Portatone PSR-E213 Manual de serviço - Página 20
Procurar online ou descarregar pdf Manual de serviço para Instrumento musical Yamaha Portatone PSR-E213. Yamaha Portatone PSR-E213 37 páginas.

PSR-E213/YPT-210
I
TEST PROGRAM
1
Preparation
1) Use an AC adaptor PA-3C or PA-32.
2) Measuring device: Frequency counter, which can detect thousandth digit, Level meter (with JIS-C filter).
Note: Connect a load resistor of 33 Ω to the terminal [PHONES/OUTPUT]. Input impedance of the measuring device
should be 1 MΩ or more.
3) Jig: Foot switch (FC-4 or FC-5), MIDI cable.
2
Start-up the Test Program
Holding down the keys [C2#], [F2], [G2#] simultaneously, press the [STANDBY/ON] switch.
3
Test Procedure
1) When the test program is started, "TEST" will be displayed on the LCD.
2) Press the [–] or [+] button of the number buttons to select a test program item.
3) Press the [START/STOP] button to execute the test.
If the result is OK or test item is completed, press the [START/STOP] button again to return to the item selection
display.
Press the [–] or [+] button of the number buttons to select the next test item.
A cursor ("_") is shown below the first character of the item for which the test results are OK.
If the results are NG, press the lowest key in the keyboard (white key C1) to return to the item selection display.
4
Test program list
Test No. LCD display
1
001 : Version
2
002 : Rom Chk1
3
011 : TG1 Chk
4
013 : Pit Chk
5
014 : Output R
6
015 : Output L
019 : Noise
7
020 : SW Chk
20
C2#
G
2#
F2
Test descriptions, judging conditions, etc.
Displays the version of the ROM.
"[ *** ] Prog" is displayed on the LCD.
ROM connected to the bus of the CPU is checked.
Make sure that "Rom OK" is displayed on the LCD.
Plays each key automatically in the order of scale (auto-scaling). (32 notes from C2 to G4 will be played.)
Check that there is no abnormal sounds or noise. When the auto-scaling is finished, "TG1 End" will be shown.
Press a key to play a sound. (Single note, the key pressed first will be played.)
Connect the frequency counter to the [PHONES/OUTPUT] terminal. (Either L or R)
Checks pitch. (440.14 Hz ± 0.22 Hz)
Check that the correct signal is output.
Connect the level meter (with JIS-C filter) to the L/R terminals of the [PHONES/OUTPUT]. (33 Ω of load)
• PHONES L: -45 dBu or less
Connect the level meter (with JIS-C filter) to the L/R terminals of the [PHONES/OUTPUT]. (33 Ω of load)
• PHONES L: -2 dBu ± 2 dB
This item progresses to the next without inspecting.
Checks switches on the panel. Press the switches as shown in the LCD. When the switch is pressed, a sound
is played at the prescribed pitch. (Refer to the Switch test item list.)
Make sure that "SW OK" is displayed on the LCD when all the switches are pressed.
To cancel the operation halfway, use the [lowest key on the keyboard] to return to the selection display.
STANDBY/ON
• PHONES R: -2 dBu ± 2 dB
• PHONES R: -45 dBu or less
TEST
(0 dBu = 0.775 V)
[ *** ]: Version
