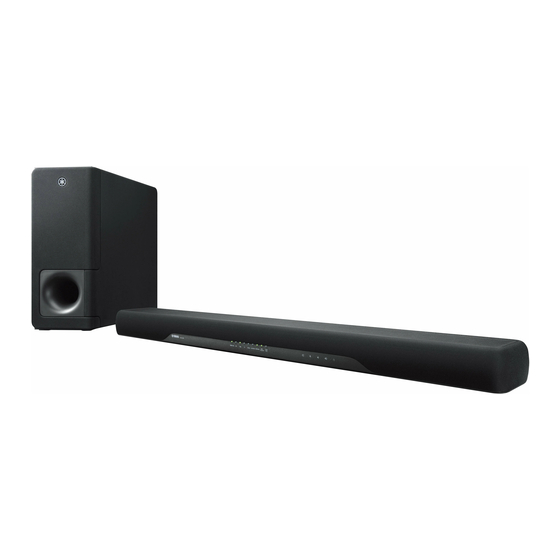
Yamaha ATS-CU2070 Manual de serviço - Página 22
Procurar online ou descarregar pdf Manual de serviço para Sistema de altifalantes Yamaha ATS-CU2070. Yamaha ATS-CU2070 50 páginas. Front surround system
Também para Yamaha ATS-CU2070: Manual do Proprietário (46 páginas)

YAS-CU207/ATS-CU2070/NS-WSW42
1. Removal of Side Frame Assembly
and Front Frame Assembly (Fig. 1)
*
The side frame assembly is fixed to the cabinet with
dowels at 16 locations and the front frame assembly
with dowels at 6 locations.
As a flatblade screwdriver is used for removal, use
special care not to cause damage to the cabinet.
a. Spread a rubber sheet and cloth for protection of this
unit against any damage and place this unit on cloth
with its side facing down.
b. First, insert a flatblade screwdriver at 4 dowel positions
and push up the side frame assembly.
c. Next, using the metalblade or the like, push the side
frame assembly upward until it comes off.
d. After removing the side frame assembly, remove the
front frame assembly by pushing it up gradually, using
the metalblade or the like.
Notes:
•
Removing the side frame/front panel assembly with the
flatblade screwdriver only without using the metalblade
or the like may cause damage to the side frame/front
panel assembly.
•
When installing the side frame/front panel assembly,
apply quick-drying bond or the like to dowels and then
fit them into dowel holes for secure installation.
(The side frame/front panel assembly will come off easily
if its dowels are fitted into dowel holes without applying
quick-drying bond or the like.)
Metalblade
ヘラ
Front frame assembly
フロン トフレーム Ass'y
Metalblade
ヘラ
22
Dowel
ダボ
NS-WSW42
1. サイドフレーム Ass'y、フロントフレーム Ass'y
※ サイドフレーム Ass'y は 16 箇所のダボで、また、フロ
ントフレーム Ass'y は 6 箇所のダボでキャビネットに
固定されています。
取り外しの際、キャビネットに傷が付かないよう十分
注意してください。
a. 本機に傷などが付かないようにゴムシートと布を敷
き、本機を側面が下になるように置きます。
b. 最初にマイナスドライバーを 4 箇所のダボ位置へ差し
込み、サイドフレーム Ass'y を押し上げます。
c. 次にヘラ等を使い、徐々に上面ヘ押し上げて、サイド
フレーム Ass'y を外します。
d. サイドフレーム Ass'y を外した後で、フロントフレー
ム Ass'y をヘラ等を使い、徐々に押し上げて外します。
注意:
・ サイドフレーム/フロントパネル Ass'y を外す際、ヘ
ラ等を使わずマイナスドライバーだけを使って外す
と、サイドフレーム/フロントパネル Ass'y が破損す
る場合があります。
・ サイドフレーム/フロントパネル Ass'y を取り付ける
場合、サイドフレーム/フロントパネル Ass'y のダボ
に速乾ボンドなどを塗って取り付けます。
(ダボへ速乾ボンドなどを塗らずに差し込んだ場合、
サイドフレーム/フロントパネル Ass'y は容易に外れ
てしまいます。 )
Fig. 1
の外し方(Fig. 1)
Side frame assembly
サイ ドフレーム Ass'y
Cabinet assembly
キャ ビネッ ト Ass'y
Flatblad screwdriver
マイナスドライバー
