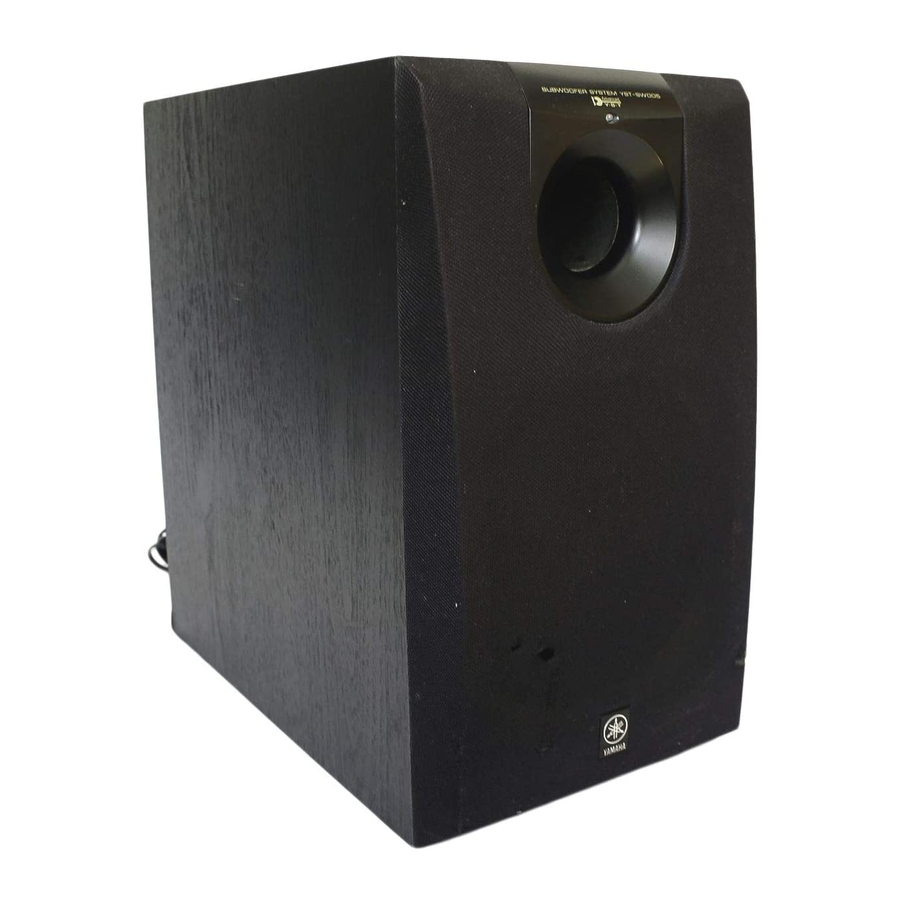
Yamaha YST-SW005 Manual de serviço - Página 5
Procurar online ou descarregar pdf Manual de serviço para Sistema de altifalantes Yamaha YST-SW005. Yamaha YST-SW005 16 páginas. Yamaha subwoofer system owner's manual
Também para Yamaha YST-SW005: Manual do Proprietário (20 páginas), Manual do Proprietário (19 páginas), Manual de serviço (13 páginas)

DISASSEMBLY PROCEDURES
(Remove parts in the order as numbered.)
For exchanging the driver unit
1. Removal of Front Grille
The front grille is fixed to the cabinet with dowels at 6
locations.
As a screwdriver (for slotted head screw) is used for
removal, use special care not to cause damage to the
cabinet.
a. Apply the block to the rear panel so as to avoid damage
to the Terminal of the rear panel.
b. Use the screwdriver inserted in the gap between the
front grille and the cabinet (bottom side first), push up
the front grille. (Fig. 1)
c. Remove the front grille by lifting it up. (Fig. 1)
2. Removal of Driver unit and Replacement of LED
a. Remove 4 screws (1) in Fig. 2, and remove the Driver
unit.
b. Disconnect the cord connected to the Driver unit.
c. Remove 4 screws (2) and pull out the port section
forward. LED can then be replaced.
For repairing P.C.B.
1. Removal of Rear Panel
Remove 14 screws (2) in Fig. 3, and remove the rear
panel. At this time, disconnect the connector CB5 of
MAIN P.C.B. (1).
* When reassembling the rear panel which has been
removed from the rear panel, be sure to replace the
packing to prevent the air leakage.
2. P.C.B. Operation Check
Connect the connector CB5 of MAIN P.C.B. (1).
Fig. 1
CB5
Fig. 3
2
2
2
2
1
1
1
1
3
YST-SW005
Fig. 2
4
