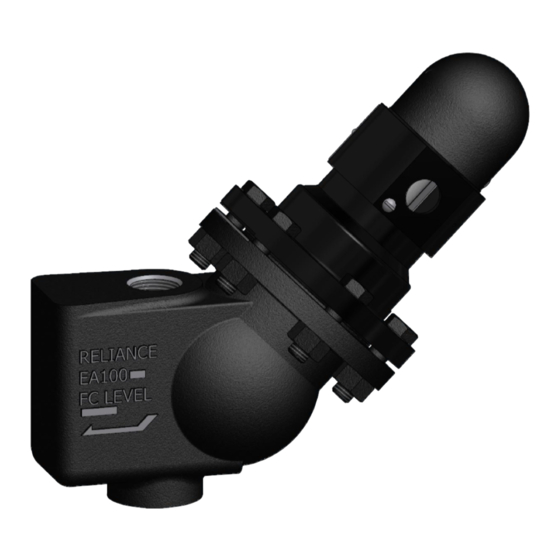
Clark-Reliance Levalarm EA100 Series Instruções de instalação e funcionamento - Página 4
Procurar online ou descarregar pdf Instruções de instalação e funcionamento para Equipamento industrial Clark-Reliance Levalarm EA100 Series. Clark-Reliance Levalarm EA100 Series 10 páginas.

CAUTION: Make sure that all wire leads to the switch do not interfer with the operation of the switch
actuator before replacing the switch cover!
NOTE: It is recommended that periodic inspection and routine maintenance be conducted to ensure
that the Levalarm continues to work properly. This can be conducted by following the procedure:
1) Isolate the Levalarm by closing the steam and water isolation valves.
2) Open the drain valve to drain the unit and relieve any internal pressure.
3) Remove the switch cover, disconnect the wiring and the conduit.
4) Using a ¾" wrench or socket for the bolt and a 7/8" wrench or socket for the nut, remove the
nuts on the flanged cover (4 nuts on the EA100D and 6 nuts on the EA100S/EA100SW).
Discard old gasket.
5) Removing the flange provides complete access to the float and switch assembly.
6) Inspect the float to make sure that water has not leaked directly into the float.
7) Check to make sure the float and pivot rod assembly freely moves up and down and does not
stick or bind.
8) Inspect the magnet tube to make sure there is no contamination in the tube or attached to the
magnet itself.
9) After the inspection is complete, re-assemble the flanged switch assembly to the body using a
new part number C1-3 gasket. The gasket may be held in place by applying a silicone based
pipe joint compound onto the flange gasket surface. Make sure the flange unit is oriented
properly.
10) Lubricate the threads on the bolts with a high temperature nickel based lubricant. Torque the
bolting in the proper sequence (see below) to 70 ft-lbs in 1/3
11) Re-install the conduit and the wiring.
Bolt Torqueing Pattern:
rd
increments.
