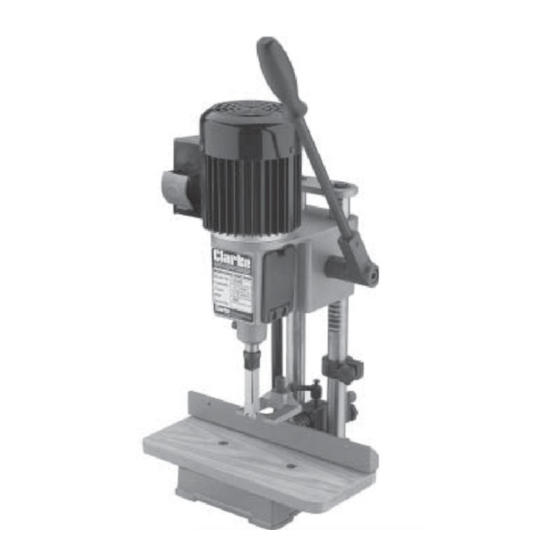
Clarke CBM 2 Instruções de funcionamento e manutenção - Página 9
Procurar online ou descarregar pdf Instruções de funcionamento e manutenção para Ferramenta eléctrica Clarke CBM 2. Clarke CBM 2 14 páginas. Mortising machine

ADJUSTING HOLD DOWN
The purpose of the hold down in to prevent the workpiece from lifting as the chisel is raised up,
out of the hole. The hold down should be adjusted so it just touches the top of the workpiece
and allows the workpiece to slide left or right. The hold down can be turned upside down to
accommodate thicker workpieces. To adjust the hold down, loosen the set screw (A) with the
Allen key provided, position the hold down, and re-tighten set screw (A).
ADJUSTING DEPTH STOP ROD
A depth stop rod is provided to limit the
depth of the chisel cut. To adjust the depth
stop rod, loosen the set screw (B) and lower
the head until the bottom of the chisel is at
the desired depth. Lower the depth stop rod
until it contacts base and re-tighten screw
(B, Fig. 7).
Fig 8
ADJUSTING SLIDING FIT BETWEEN HEAD AND COLUMN (Ref fig. 9)
Two bolts are provided on the rear of the head, to ensure a good sliding fit between head and
column when the head is raised and lowered. Adjustment is made by loosening or tightening
these two bolts. NOTE: Correct adjustment is when a good snug sliding fit is obtained without
any side movement between the head and column. The adjustment should not be too tight
that it restricts the sliding movement, or too loose that it affects accuracy. There are also two
set screws, located on the side of the head, which can be adjusted. These two screws keep
the head and column in good alignment. If there is excessive movement in this area:
1. Loosen the lock nut, securing the set screw.
2. Screw the set screw in, until movement is eliminated.
3. Secure the set screw in this position by re-tightening the lock nut ,whilst holding the set
screw to prevent it from turning.
Fig 7
ADJUSTING CHISEL PARALLEL TO
The chisel can be adjusted parallel to
the workpiece by loosening the securing
screw and rotating the chisel until the
back surface of the chisel is flat against
the workpiece. Then re-tighten the
screw.
10
WORKPIECE
