Clarke XPPH15/50 Manual de Instruções de Operação e Manutenção - Página 8
Procurar online ou descarregar pdf Manual de Instruções de Operação e Manutenção para Compressor de ar Clarke XPPH15/50. Clarke XPPH15/50 17 páginas. Xppv11 series; xpp15 series; 50l engine driven air compressor

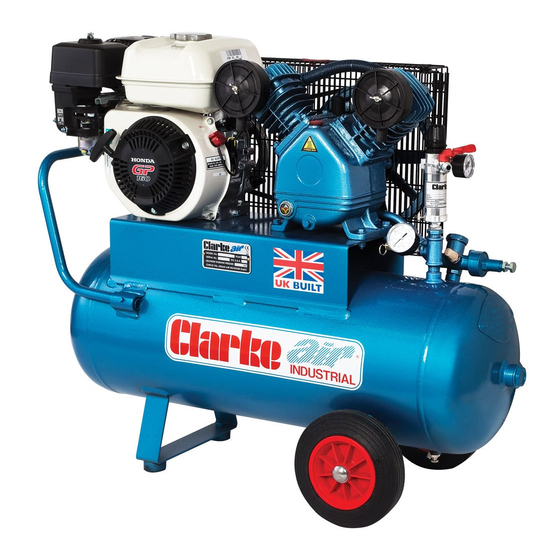
STARTING THE COMPRESSOR
INITIAL START-UP
1. Fully open the receiver drain cock, (located between the wheels).
2. To ease starting, ensure there is no pressure in the pump outlet manifold by
opening the Bleed Valve (See Fig.2).
3. Start the engine, according to the instructions contained in the engine
service manual, if this is the first time you use the compressor, allow to run
for 10 minutes.
4. After a ten minute period, close the drain cock and bleed valve then
ensure both air outlet taps are closed (off position).
• Pressure will build up in the receiver and eventually the air governor will
operate so that the engine runs off load. The pressure registered on the
pressure gauge should be 100psi.
5. Slide the outlet taps outwards to allow air to escape from the outlets, and
slowly turn the pressure regulator clockwise. Observe the pressure gauge.
When the pressure has dropped by approx. 20psi, the Air Governor/Load
genie will operate and the compressor will cut in again. Close the sliding
outlet valves and pressure in the air receiver will once again increase
6. Finally, stop the engine and set the pressure regulator to zero pressure
(turned fully anticlockwise) and attach the air hose and air tool.
7. Open the sliding valves then set the pressure regulator to full pressure
(100psi) and check for air leaks at the tool and connectors.
• If leaks are apparent, set
the regulator to zero
pressure (fully
anticlockwise), press the
trigger of the tool to
ensure no air is present in
the airline, then rectify the
problem before
proceeding.
• If no leaks are evident,
Open the bleed valve,
start the engine and then
close the bleed valve. Set
the outlet pressure to the
desired value and proceed to use the air tool in accordance with the
manufacturers instructions.
Parts & Service: 020 8988 7400 / E-mail: [email protected] or [email protected]
8
FIG. 2
