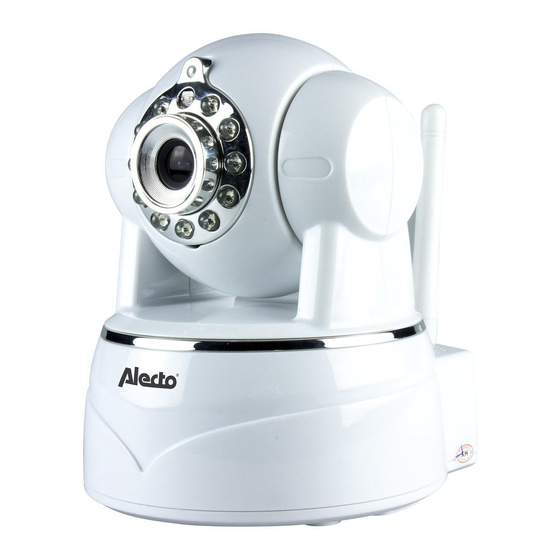
Alecto DVC-150IPV2 Manual do utilizador - Página 11
Procurar online ou descarregar pdf Manual do utilizador para Câmara de segurança Alecto DVC-150IPV2. Alecto DVC-150IPV2 17 páginas.

EVENT SETTING.
Motion Detection: Set the level sensitivity for motion detection. The choices
are: Off, Low, Medium, High and Maximum.
Notification: What alarm signal would you like to have? You can choose from:
Advanced Setting
Silent, Tones only, Vibrate only, Ringtone and Vibrate. The Vibration only works
Security Code Setting
Modify Security Code
if supported by the smartphone or tablet.
Receive notification messages.
Video Setting
Video Quality:
Max
Depending on your version of android there will also be a notification message
Video Flip:
Normal
Environment Mode:
Indoor(50hz)
sent through a notification server. This function can be put into the application
Sound Detection
management (latest versions of Android) and set to on or off. The default
Sound Level:
off
Trigger Duration:
1 Seconds
is on. This means that even when the app is closed notification messages
Notification:
Ringtone and Vibrate
Event Setting
can still be retrieved when motion or sound is detected from the camera (if
Motion Detection:
Off
enabled). If your click on the notification, the overview screen of the cameras
Notification:
Ringtone and Vibrate
WiFi Setting
will appear and you can view the live image. Should the app still be running in
SSID:
None
Remote device no response
the background, and a notification message is received which you click on, the
Manage Wi-Fi networks
screen will appear blank or empty. Press the back button on Android to go to
Time Zone
the camera list.
Device Information
WiFi Setting.
Model:
P2PCam
Version:
0.0.1.18
Vender:
Alecto
You can connect the camera to your WiFi network from this screen.
Total size:
15060 MB
Free size:
12897 MB
If the camera is logged on to a WiFi network then the network name will be
Cancel
shown at the SSID: The name of the network will be listed.
The WiFi router or modem must be set so that the SSID name will be
displayed. Press the "Manage WiFi Networks" button.
Choose the correct Wi-Fi network. Then enter the correct password immediately.
Alternatively, you can make the password visible when typing it by pressing on the "see password"
check box. Then press "ok".
Press the "ok" button on all the screens. Allow time for the camera to log onto the WiFi network. Once
the camera is connected to the network, go to the WiFi settings.
Now verify that the SSID name of your WiFi network is displayed on the Wi-Fi list.
If this is the case, then the camera is correctly connected to the WiFi network. Under the name
should be the word 'Connected'. If you see this, the camera is now correctly connected to the WiFi
network. The UTP cable can be removed. The camera can now be placed anywhere as long as it is
within range of the WiFi router or modem.
11
