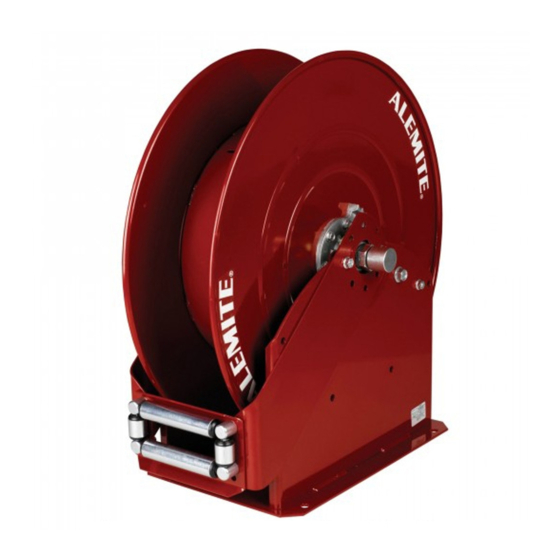
Alemite 7340 Manual de serviço - Página 4
Procurar online ou descarregar pdf Manual de serviço para Cabos e conectores Alemite 7340. Alemite 7340 16 páginas. High-capacity
Também para Alemite 7340: Manual de serviço (12 páginas)

NOTE
Prior to performing any maintenance
procedure, the following safety precau-
tions must be observed. Personal injury
may occur.
WARNING
Release all pressure within the system
prior to performing any overhaul
procedure.
• Disconnect the air supply line to the
pump's motor.
• Into an appropriate container, operate
the control valve to discharge
remaining pressure within the
system.
Read each step of the instructions
carefully. Make sure a proper under-
standing is achieved before proceeding.
Overhaul
NOTE
Make sure all pressure is released within
the system.
NOTE
Refer to fig. IPB1, page 13 for compo-
nent identification on all overhaul
procedures.
Disassembly
NOTE
Prior to disassembly, release tension on
the power spring.
1 Remove the hose stop and the control
valve from the delivery hose.
2 Pull on the delivery hose to unlatch the
reel.
3 Allow the delivery hose to retract onto
the reel.
4 Turn the reel in the same direction until
the power spring bypasses spring
arbor (26).
4.1 A pronounced "click" will sound.
Medium- and high-pressure
swivel assemblies
5 Unscrew swivel assembly (36 or 39)
from shaft (8).
NOTE
The body and stud assemblies for these
swivels cannot be repaired. However,
the sealing and back-up components
are available in a repair kit.
Hose guide assembly
6 Remove nuts (13) that secure post and
shaft assemblies (18) and (19) to hose
guide plate (17).
6.1 Remove each post and shaft assem-
bly from the hose guide plate.
7 Remove roller assemblies (20) and (21)
from each post and shaft assembly as
required.
8 Remove o-rings (22) from each roller
assembly as required.
NOTE
Use an small flat-head screwdriver.
4
Arms and power spring assembly
9 Remove nuts (13) that secure long
arm (34) to bolts (31).
9.1 Remove the arm from the bolts.
10 Remove nuts (1) and screws (5) that
secure short arm (14) to power spring
assembly (12) as required.
10.1 Remove the arm from the power
spring assembly.
11 Remove screws (5) that secure the
power spring assembly to base
assembly (33).
11.1 Remove the power spring
assembly from the base assembly.
WARNING
Do not attempt to disassemble the
power spring assembly. Personal injury
can occur.
Delivery hose
12 Pull the delivery hose from sheave
assembly (2).
13 Remove wing nuts (9) and washers (10)
that secure u-bolt (11) to the sheave
assembly.
13.1 Remove the u-bolt from the
sheave assembly.
14 Disconnect the delivery hose from 90 °
union (6).
14.1 Remove the delivery hose from
the sheave assembly.
Arbor and bearings
15 Remove retaining ring (16) that secures
arbor (26) to shaft and flange
assembly (3).
15.1 Remove the arbor from the shaft
and flange assembly.
16 Remove square key (4) from the shaft
and flange assembly.
17 Remove retaining ring (16) that secures
shaft (8) to bearing (28).
17.1 Do not remove the shaft at this
time.
18 Remove nuts (1) that secure bearing
housings (27) to the base assembly.
18.1 Remove each set of bearing
housings and bearings from the
base assembly.
