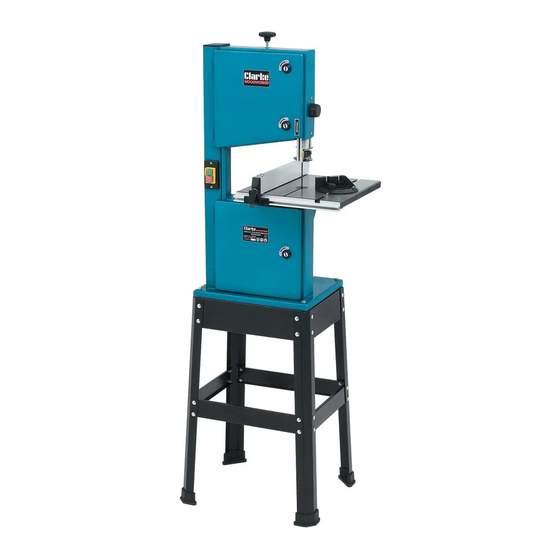
Clarke WOODWORKER CBS250 Instruções de funcionamento e manutenção - Página 11
Procurar online ou descarregar pdf Instruções de funcionamento e manutenção para Serra Clarke WOODWORKER CBS250. Clarke WOODWORKER CBS250 20 páginas. 45 mm (10”) bandsaw & stand
Também para Clarke WOODWORKER CBS250: Manual de Instruções de Operação e Manutenção (13 páginas)

Mitre Cutting
Fig.12
Most crosscut work, especially with small pieces
is more easily controlled with the use of a mitre
gauge The mitre gauge is also essential for
accurate mitre and compound mitre cuts. The
O
gauge is graduated to 60
for both left and right
hand angles.
WARNING
For your protection, ALWAYS use a push stick, to push the work
past the blade when ripping narrower pieces.
Keep your fingers well clear of the saw blade at all times.
MAINTENANCE
WARNING!
BEFORE CARRYING OUT ANY SERVICING OR MAINTENANCE,
DISCONNECT THE MACHINE FROM THE POWER SUPPLY
Changing Wheel Pulley Tyres
Eventually the rubber tyres on the bandsaw pulley wheels will wear due to the constant
contact of the sharp teeth of the blade. Remove the saw blade as described on page
12, then lift the edge of the tyre with a small screwdriver and carefully work off the wheel.
Ease on the new tyre, ensuring it sits evenly about the wheel.
We recommend that both tyres are changed at the same time.
Blade Guides
Blade guides should be inspected regularly for wear or chipping, and replaced if necessary.
See page 13 for blade adjustments.
Bearings
All bearings used in the construction of your bandsaw and its motor are sealed and
lubricated for life.
Cleaning
Accumulated dust and chips should be removed from inside the bandsaw frequently.
Open the doors, of the upper and lower blade wheel housings, use a soft brush and/or
vacuum cleaner to remove sawdust. If compressed air is used, ensure it is set to no more
than 10 psi. At the end of every work session, clean sawdust away from the motor vents.
Eventually, it will be necessary to change the saw blade and adjust blade tracking. This is
accomplished as follows:
11
