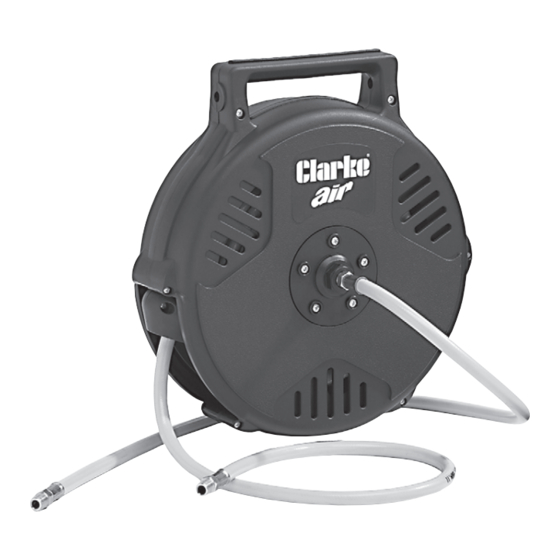
Clarke Air CHR10P Instruções de utilização - Página 2
Procurar online ou descarregar pdf Instruções de utilização para Ferramentas Clarke Air CHR10P. Clarke Air CHR10P 2 páginas.

Thank you for purchasing this Clarke Hose Reel.
Please read this instruction leaflet carefully before installation, and ensure it is
maintained according to this schedule. In doing so, the Reel will provide you with
many years of satisfactory service.
GUARANTEE
T
his CLARKE product is guaranteed against faulty manufacture for a period of
12 months from the date of purchase. Please keep your receipt as proof of
purchase.
This guarantee is invalid if the product is found to have been abused or
tampered with in any way, or not used for the purpose for which it was
intended.
Faulty goods should be returned to their place of purchase, no product can
be returned to us without prior permission.
This guarantee does not effect your statutory rights.
Please Note: Seals, Plastic Rollers and rubber Stopper are considered
to be normal wear items and as such are not covered by this warranty
SPECIFICATIONS
CHR9P
Max Air Flow
15cfm
Hose Length
30ft (9M)
Hose Diameter
1/4"
Max. Operating Pressure 300psi (20bar)
CHR10P
CHR15P
20cfm
20cfm
30ft (9M)
50ft (15M)
3/8"
3/8"
300psi (20bar)
300psi (20bar)
- 2 -
SAFETY PRECAUTIONS
• Never exceed the operating pressure of 300psi (20bar)
• Eye protection should be used when assembling and using the hose reel.
• Take ALL precautions with respect to the use of compressed air.
Remember....compressed air can kill.
• Ensure all air connections are properly sealed using teflon tape or pipe sealant.
• Never allow the hose to retract freely, It should always be restrained to prevent
the air tool from whipping, with resultant damage to persons or property.
• Keep children away from the work site.
INSTALLATION
The Hose Reel assembly may be wall or ceiling mounted. Ensure the mounting
hardware (not supplied), and supporting wall or ceiling is of sufficient strength to
support the Hose Reel assembly and the forces required to pull out the hose etc.
The hinge pin secures the reel to the bracket via the hole in the handle. Ensure
the split pin is properly located in the hole provided in the hinge pin to prevent
the pin from sliding out of the mounting, causing the reel to fall.
Connect the air hose to the connector in the hub of the reel, using thread sealant
or teflon tape.
NOTE: Care must be taken not to overtighten the air hose, as the thread on the
hub connector could be damaged.
OPERATION
Check Reel for correct operation, as follows:
Gently pull out the hose - a series of clicks will be heard which indicates that the
ratchet is operating correctly.
When a click is heard, release the hose. It should be held by the latch. Continue
to pull out the hose, and after a series of clicks, at various lengths, release it to
check the operation of the latch.
To retract the hose, give it a brief tug to disengage the latch, then allow it to retract
fully, under control, until the stopper rests on the hose guide.
DO NOT allow the hose to retract freely....it must be restrained in order to prevent the
air tool, connected to the end of the hose, from whipping with resultant damage to
persons or property.
MAINTENANCE
Be sure to keep the hose clean otherwise the hose may not retract properly.
All internal parts are permanently lubricated and no maintenance should be
necessary. Should it be necessary to renew the hose or should the reel fail, contact
your Clarke dealer.
- 3 -
