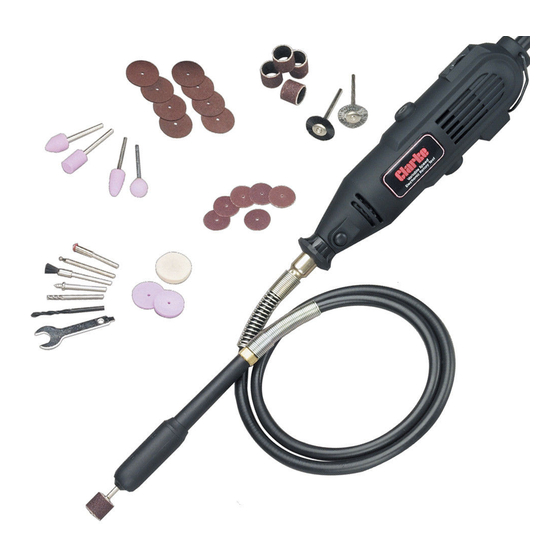
Clarke CRT 40 Instruções para o utilizador - Página 5
Procurar online ou descarregar pdf Instruções para o utilizador para Ferramentas Clarke CRT 40. Clarke CRT 40 13 páginas. 40-piece rotary tool kit
Também para Clarke CRT 40: Instruções para o utilizador (6 páginas)

ASSEMBLY OF COMPONENTS
1.
STAND FOR THE ROTARY TOOL
Screw the telescopic tube into the bracket and tighten.
Clamp the bracket to a workbench or worktop with a
maximum thickness at 2-1/8".
Slacken the top tube by turning the black knob anticlockwise (-).
Draw the tube out to its maximum height and secure it by
turning the knob clockwise (+).
Turn the middle tube anticlockwise (-) and extend as required.
Lock in position by turning the tube clockwise (+).
The Rotary Tool can now be supported by the suspension
bracket of the stand as shown. (the suspension bracket
can be turned 360
2.
ASSEMBLING ACCESSORIES TO THE TOOL
IMPORTANT: Ensure the tool is switched OFF at the
mains supply and at the tool switch.
•
Press down on the drive shaft locking button (2),
and hold down.
•
Undo the chuck (1) using the spanner provided.
•
Insert the mandrel of the tool to be used in to the
chuck FULLY and tighten the chuck.
3.
ASSEMBLING DISCS & GRINDING STONES TO THE MANDREL
•
Mount the selected disc on to the mandrel as shown,
ensuring the two washers are in place.
DO NOT overtighten the screw.
O
).
5
