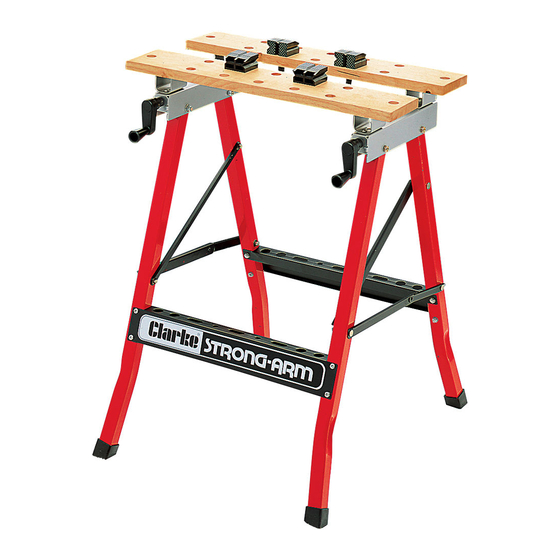
Clarke Strong-Arm CFB600 Instruções de montagem - Página 3
Procurar online ou descarregar pdf Instruções de montagem para Ferramentas Clarke Strong-Arm CFB600. Clarke Strong-Arm CFB600 4 páginas. Folding workbench

Insert the four bolts (item 9) through the cross member and legs, and fit washers
and nuts (items' 13 and 10) on the inside. Turn over the assembly and affach
the other cross member as above. Do not fully tighten nuts at this stage.
3.
Attach the four Plastic Feet (item 6). to the Leg Frames (item 5), by pushing
them over the end of each leg, so that the longest corner of each foot is at
the outer corner of the leg. This ensures that the feet lie flat when the
workbench legs are opened fully.
4.
Place the two Worktops (item 1) face down and side by side, so that the pre-
drilled holes to accommodate the mounting bracket screws, are uppermost,
and the notches in the sides of each Worktop, face towards the centre.
5.
Place both Slide Bases (item 2) on top of, and across, the assembled Worktops,
so that the screw holes in the mounting brackets are over the pre-drilled screw
holes in the Worktops, and the adjusting handles are facing the same direction.
Screw down firmly, using the 16 woodscrews provided (item 8)
6.
The Worktop Assembly can now be connected to the Leg Assembly as follows:
Open the legs so that the four feet lie flat on the ground, by pressing down on
the side stays until they lock, i.e. they go just over centre.
Lower the Worktop assembly on to the Leg assembly so that the tops of the
legs are inserted into the underside of the Slide Bases.
IMPORTANT: Ensure that the Vice Handle side of the worktop, is on the same side
as the SHORT section of the hinged stay on the leg assembly.
Line up the holes in the Slide Bases with those in the tops of each leg, and
insert the four 8x45 mm bolts (item 3) with four 8mm washers (item 7) from the
outside, and secure with locknuts (item 11) and washers (item 7) on the inside.
(i.e. you must ensure that a flat washer lies next to the bolt head on the outside,
and the locknut on the inside).
NOTE: This method of assembly must be followed to ensure the stability of the
workbench. To double check that assembly is correct, the vice handles should be
uppermost when the table is folded.
I MPORTANT:
Do not overtighten the locknuts (item 11), as the bolts provide pivot points for the
workbench when folding and unfolding. The Slide Bases should not be pinched in
any way.
7.
Ensuring the workbench is fully opened, rock the unit gently to ensure there
are no distortions, and that no part is under stress, then tighten the Cross
Member nuts securely, being careful not to overtighten.
8.
Tap the Workpiece Holders (item 12) into convenient holes in the Worktop.
These may be positioned at any location to suit the work being clamped.
Your Folding Workbench is now ready for use.
