Nikon D200 Manual de operação - Página 19

Procurar online ou descarregar pdf Manual de operação para Acessórios para câmaras Nikon D200. Nikon D200 23 páginas. Exploring
Também para Nikon D200: Brochura e especificações (13 páginas), Brochura (7 páginas), Manual de configuração (2 páginas), Brochura e especificações (18 páginas), Brochura (14 páginas), Especificações (2 páginas), Características e quadro comparativo (1 páginas), Manual do utilizador (19 páginas), Especificações (2 páginas), Manual de início rápido (2 páginas), Manual (25 páginas), Manual de início rápido (9 páginas)
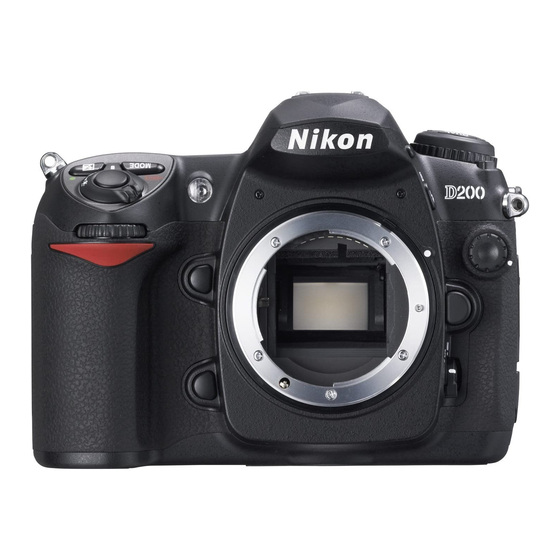
Nikon D200 Manual de operação
Secure the camera strap to you or the airplane so as to assure the camera cannot be
dropped out the window.
Turn on the camera. After a minute or so, verify that the GPS is locked onto the satellite
network. Point the camera out the photo window and take a picture. Verify that the photo
is sharp, properly exposed and that the GPS data has been included in the photo.
3.2 Flight Segment
Tell the pilot you are ready for engine start.
Once the engine is running, make sure your can talk to the pilot and co-pilot using the
intercom. If not, do not proceed until this is resolved. You must be able to talk to the pilot
in order to give steering directions once in the target area.
Once in the target area:
 Locate the target(s)
 Make sure the camera strap is secured to your or the airplane to assure the camera
cannot be dropped out the photo window
 Use the previously determined lens focal length setting or, for spot photography,
zoom as appropriate (make sure aircraft parts will not be in the picture).
 It is ok to put the camera lens outside the photo window but make sure the focal
length setting does not change.
 Provide instructions to the pilot and co-pilot on flight path.
 Direct the aircraft so that the center of the camera view finder is on the target.
 Push shutter button down half way and hold for a second before taking the photo
to allow for auto focus to lock-on.
 Take multiple photos.
 Tell the co-pilot the ID of each photo or group of photos taken so that he or she
can record the corresponding aircraft heading(s) in the photo mission log.
Setting up the camera for automatic shutter release:
Route photography and aerial mapping will require that the camera be setup to
automatically take a photo every few seconds. During mission planning, the time interval
between photos will have been determined. The value will typically be a photo every 3 or
4 seconds.
19
To setup the camera, press "Menu", then use the
cursor (multi-selector) to select "Intvl Timer
Shooting" in the Shooting Menu.
Next, press the cursor to the right.