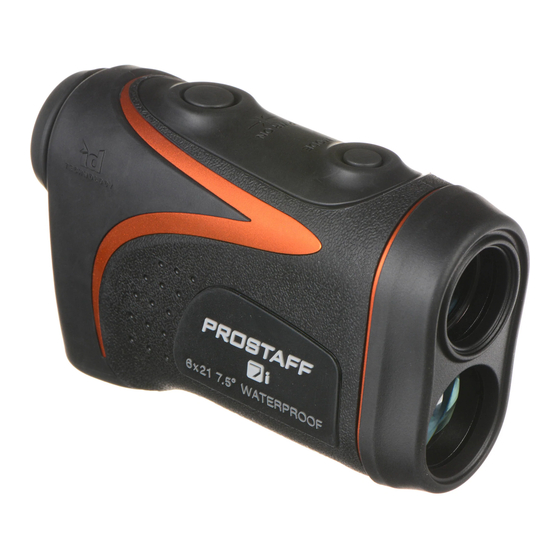
Nikon Prostaff 7i Manual de instruções - Página 7
Procurar online ou descarregar pdf Manual de instruções para Instrumentos de medição Nikon Prostaff 7i. Nikon Prostaff 7i 33 páginas.

9. Battery
1. Type of battery
En
3V CR2 lithium battery x1
Es
2. Inserting/replacing battery
Fr
2-1. Open the battery chamber cover
Insert a coin or similar item into the slot on the battery chamber cover, then rotate it until the indicator
Pt
with the
mark. It may not open easily due to its rubber packing for water resistance.
2-2. Replace the old battery with a new one
Insert a new battery with the [+] and [-] correctly positioned following the "Battery installation" indication in the
battery chamber. [+] pole should be towards the inside of the chamber. If the battery is not inserted correctly, the
laser rangefinder will not operate.
2-3. Close the battery chamber cover
Align the
mark with the indicator
and insert the battery chamber cover. Insert a coin or similar
item into the slot on the battery chamber cover, then turn the cover towards the
indicator
aligns with it. It may not close easily due to the rubber packing for water resistance. Confirm
that the cover is securely closed.
3. Battery level indicator
* The battery condition mark in the internal display warns when the battery needs to be replaced.
Display
After power on, displays for 2 seconds only.
After power on, displays for 2 seconds only.
Displayed continuously.
Blinks. After blinking 3 times, automatically
powers off.
4. Battery life
Continuous operation: Approx. 9,000 times (at approx. 20°C)
This figure may differ according to conditions, temperature, and other factors such as target shape, color, etc. Use
only as a guide.
* The battery supplied with this Nikon Laser Rangefinder is for operation checking. Due to natural electrical discharge, the
life of this battery will likely be shorter than that noted above.
* If water enters the battery chamber due to submersion, dry the battery chamber well, then replace the battery.
12
aligns
mark until the
Description
Sufficient power available.
Power getting low.
Prepare to replace the battery.
Low. Battery should be replaced with a new one.
Power exhausted.
Replace the battery.
10. Measurement
Caution — Controls, adjustments or usage of procedures other than those specified herein may
produce negative effects or damage to your health due to laser radiation.
1. Preparing
Install a battery in the battery chamber. (See "Battery")
2. Diopter adjustment
Adjust the diopter to obtain a clear internal display in the viewfinder.
First, rotate the diopter adjustment ring counterclockwise until it comes to a complete stop. Next, rotate the
diopter adjustment ring back and forth until the internal display comes into focus.
3. Measuring
Before measuring, be sure to confirm each mode (Measurement display mode/Target priority mode/Distance
display unit) setting.
* Please refer to each section on how to set each mode.
3-1. Turn on the power.
(Automatic power shut-off after
approx. 8 seconds unoperated.)
Immediately after power-on
Standby
En
3-2. Aim at the target.
Position the target at the center of
the target mark.
13
Es
Fr
Pt
