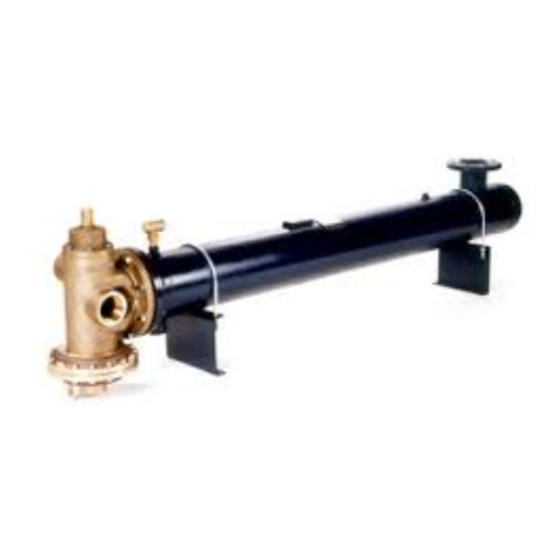
Armstrong FLO-RITE-TEMP 665DW Instruções de instalação e ajuste - Página 14
Procurar online ou descarregar pdf Instruções de instalação e ajuste para Aquecedor de água Armstrong FLO-RITE-TEMP 665DW. Armstrong FLO-RITE-TEMP 665DW 20 páginas. Instantaneous water heater. instructions for single and double wall units
Também para Armstrong FLO-RITE-TEMP 665DW: Instruções de instalação e ajuste (17 páginas)

Table 14-1
Problem
The steam is not turned on to the unit.
The water tubes in the heat exchanger are
Only cold water
plugged.
comes out of
The differential pressure sensing diaphragm
the unit.
is ruptured.
The mixing valve is not properly adjusted.
The steam pressure is too low.
Air has accumulated in the shell of the heat
exchanger.
Only warm
The flow is above the rated capacity of the
water comes
unit.
out of the unit.
The tubes in the heat exchanger are scaled.
The mixing valve is not properly adjusted.
The steam pressure is too high.
Extreme hot
Recirculated water is continually diverting
water comes
through the Flo-Rite-Temp.
out of the unit.
The steam is superheated.
The mixing valve is not properly adjusted.
No water
The inlet valve on the water supply is closed. Open valve.
comes out of
the unit.
There is no demand for hot water.
The shell of the heat exchanger is not
properly drained.
The unit
hammers and
The steam pressure has dropped or a
bangs during
vacuum has formed.
operation.
The water pressure had dropped below that
of the steam pressure and steam is forming
inside of the water tubes.
Control Valve - All maintenance on the valve should be done by a factory trained product specialist
with the exception of replacing the pressure sensing diaphragm. To replace the diaphragm remove all nuts and
bolts from the bottom cover. After removing the bottom cover, remove the lock nuts from the bottom of the
valve shaft. You will need to hold the platter to prevent the assembly from spinning, or hold the stem with
large a slotted screw driver in the slot at the bottom of the stem. After removing the nuts, slide the platter off,
then the old diaphragm, being careful not to lose the brass washer above the diaphragm. To reassemble follow
the reverse order. Make sure when tightening the cover bolts that you use a criss-cross pattern.
TROUBLESHOOTING GUIDE
Causes
DISASSEMBLY
Open steam valve to the unit.
See Clean-In-Place operating instructions or remove
tube bundle and clean.
Replace the diaphragm.
Adjust the unit according to the instructions.
Increase steam pressure (2 - 15 psig).
Install a thermostatic air vent on the shell.
Make sure unit is sized properly.
See Clean-In-Place operating instructions or remove
tube bundle and clean.
Adjust the unit according to the instructions.
Decrease steam pressure (2 - 15 psig).
Check diverting valve for a stuck or failed thermal
capsule.
Pipe to saturated steam.
Adjust the unit according to the instructions.
Wait till demand is present then re-check.
Make sure steam trap is working and properly installed.
Make sure shell is level to floor. Do not elevate
condensate if pressure is low.
Increase pressure and install vacuum breaker at shell
drain (Figure 1-1).
Install a pressure switch on water inlet to shut off steam
on a drop in water pressure.
14
Solutions
