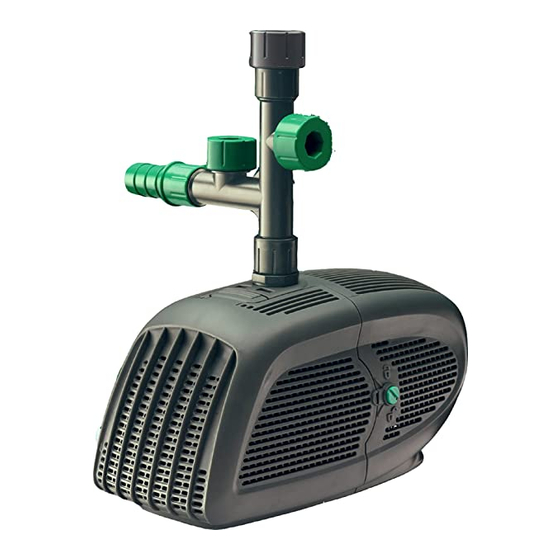
Blagdon AMPHIBIOUS A3000 Folheto - Página 11
Procurar online ou descarregar pdf Folheto para Bombas para lagos Blagdon AMPHIBIOUS A3000. Blagdon AMPHIBIOUS A3000 16 páginas.

- 1. Table of Contents
- 2. Getting to Know Your Amphibious Pump
- 3. Pump Performance / Flow Charts
- 4. Technical Specifications
- 5. Installation
- 6. Electrical Installation
- 7. Maintenance and Cleaning
- 8. Cleaning
- 9. Routine Maintenance
- 10. Monthly Maintenance
- 11. Annual Maintenance
- 12. Winter Storage
- 13. Troubleshooting
- 14. Faults - Problem Procedure
- 15. Consumer Advice Contact Details
- 16. Guarantee
Amphibious Pump Leaflet 2.qxd
MAINTENANCE & CLEANING
Routine Maintenance
Carry out routine maintenance when pump flow is visibly reduced.
1. Switch off electricity to the pump, and all other electrical pond equipment.
2. Remove pump from pond (do not use the cable to lift the pump).
3. Open pre-filter by unscrewing the pump flange from the outlet of the pump
and opening the pre-filter lock with a coin.
4. Remove pump (see getting to know your Amphibious Pre-Filter). Wash the
pre-filter and impeller inlet thoroughly in fresh water.
A blocked pre-filter and impeller inlet will reduce the pump flow rate.
Monthly Maintenance
Follow steps 1 to 4 as per Routine Maintenance.
The impeller and impeller inlet can become blocked by pond waste.
Clean the impeller according to the following instructions.
Follow steps 1 to 4 as per Routine Maintenance.
MONTHLY MAINTENANCE
Remove the pump motor from the impeller/rotor housing by holding the housing
1
while turning the motor clockwise (see arrows provided on the pump).
Dismantle the Impeller/Rotor assembly by undoing the centre bolt ensuring the
2
washer is kept in a safe place. NB: THIS IS A LEFT-HAND THREADED BOLT SO
MUST BE UNSCREWED IN A CLOCKWISE DIRECTION (THE OPPOSITE TO A
NORMAL THREAD DIRECTION). Remove the ceramic thrust washer, the ceramic
shaft and the impeller rotor assembly from the impeller/rotor housing.
Clean all parts of the impeller in fresh water ensuring that the impeller vanes and
impeller inlet are clean.
30/3/06
2
2
Impeller
Vanes
13:33
Page 11
1
Impeller
Inlet
9
