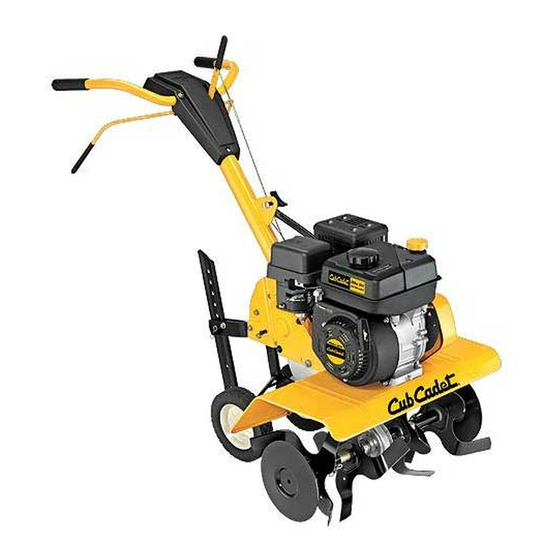
Cub Cadet FT 24 R Front-Tine Garden Tiller Manual do operador - Página 13
Procurar online ou descarregar pdf Manual do operador para Equipamento para relva e jardim Cub Cadet FT 24 R Front-Tine Garden Tiller. Cub Cadet FT 24 R Front-Tine Garden Tiller 20 páginas. Cub cadet ft24 r front tine tiller
Também para Cub Cadet FT 24 R Front-Tine Garden Tiller: Manual (1 páginas), Brochura e especificações (2 páginas)

Maintenance & Adjustments
WARNING!
Disconnect the spark plug wire and
ground it against the engine before performing any
repairs.
Maintenance
Engine
Refer to the separate Engine Operator's Manual for engine
maintenance instructions.
Tines
Clean the underside of the tine shield after each use. The dirt
washes off the tines easier if rinsed off immediately instead of
after it dries. Always towel dry the tiller afterwards and apply a
light coat of oil or silicone to prevent rusting or water damage.
NOTE: Never use a "pressure washer" to clean your tiller. Water
can penetrate tight areas of the tiller and its chain case and cause
serious damage to machine.
Lubrication
Pivot Points
Remove the belt cover and lubricate all the pivot points and linkages
at least once a season with light oil. Keep the belts free of lubrication.
Tine Shafts
Remove the tine assemblies and lubricate the tine shafts at least
once a season.
Wheel Shafts
Remove the wheel assemblies and lubricate the axle shafts at
least once a season.
Chain Drive
The chain drive is pre-lubricated and sealed at factory.
Adjustments
Cable Adjustment
Refer to the Assembly & Set-Up section of this manual for
instructions on adjusting the forward and reverse cables.
End Caps
The end cap, which is used to prevent tilled soil from overflowing
onto unwanted areas, are removable from the axle. Remove the
hairpin clip and clevis pin that secure each end cap and slide the
end caps off the axle. See Figure 6-1.
Clevis Pin
End Cap
Figure 6-1
Tines
With the outer tines installed, the working width of the machine
is 24 inches. This width may be expanded to 26 inches by
removing the clevis and cotter pins, sliding each outer tine
outward away from the center of the tiller and re-securing the
pins in the holes provided. See Figure 6-2.
Clevis Pin
Cotter Pin
Figure 6-2
6
Cotter Pin
Outer Tine
End Cap
13
