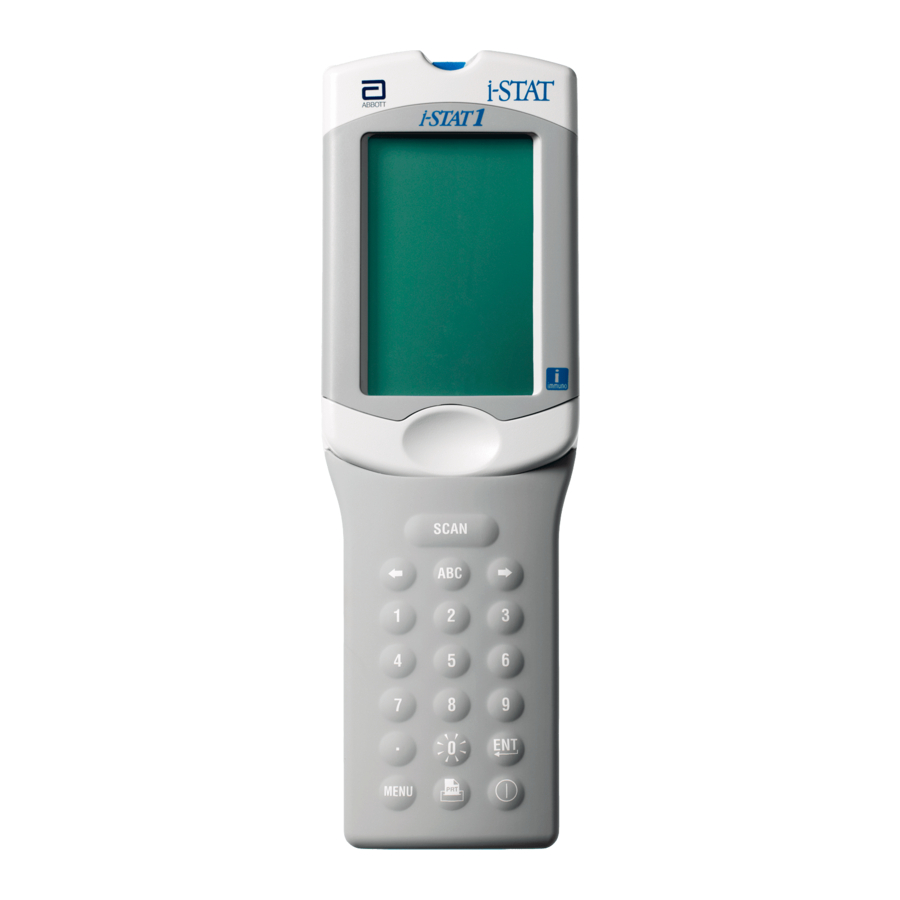
Abbott i-STAT Manual do utilizador - Página 5
Procurar online ou descarregar pdf Manual do utilizador para Instrumentos de medição Abbott i-STAT. Abbott i-STAT 11 páginas. Wireless analyzer
Também para Abbott i-STAT: Boletim Técnico (12 páginas)

Cleaning the Handheld and Downloader
Please see Section 17 of the i-STAT 1 System Manual (Routine Care of the Analyzer and
Downloader) for instructions on cleaning and decontaminating the handheld and downloader.
Replacing Paper in the Martel Printer
1.
Squeeze the front and back of the paper cup to open.
2.
Remove remaining paper by pressing the Paper feed button. Do not pull paper
through printer mechanism.
3.
Reel off a few centimeters of paper from the new paper roll and check that the end
has a clean straight edge.
4.
Slide the leading edge of the paper through the paper entry slot until you feel
resistance. Paper feeds from underneath the roll.
5.
Press the Paper Feed button and feed paper through the printer mechanism.
6.
Keep the Paper Feed button depressed until the paper passes through the paper
exit slot.
7.
Sit the new paper roll in the paper cup and close the lid.
Replacing Paper in the i-STAT Printer
1.
Open the paper compartment lid by pulling up on the release lever and remove
any remaining paper.
2.
Reel off a few centimeters of paper from the new paper roll, with the leading
edge of the paper feeding forward from the bottom of the roll.
3.
Sit the new paper roll in the compartment such that the leading edge is resting
outside the compartment on the printer casing.
4.
Close the lid until it snaps into place.
Troubleshooting
Unexpected Results
When results do not reflect the patient's condition, repeat the test using a fresh cartridge
and sample. If results are still suspect, test the lot of cartridges in use with i-STAT control
solutions. If the controls are in range, there may be an interfering substance in the
sample. Check the Cartridge and Test Information sheets for the test in question. Test by
another method to verify the result. If the controls are out of range there may be a
problem with that particular cartridge lot. Use another lot number or repeat the test using
another method, and refer to Support Services Information in the Technical Bulletin
section of the i-STAT 1 System Manual.
Startup Messages
The handheld performs self-checks when it is turned on. If a condition that should be
corrected in the near future, but that will not affect results, is detected, a warning is
displayed. The operator presses the 1 key to access the Test Menu. The analyzer can be
customized to lock out the operator until the corrective action is taken.
16
Patient Test Procedures
Cartridge Test Procedure
• DO NOT open cartridge pouch before scanning the barcode.
1. Press
to turn on handheld.
2. Press
i-STAT Cartridge.
2
3. Follow handheld prompts.
4. Scan the lot number on the cartridge pouch.
•
Position barcode 3 - 9 inches from scanner
window on the handheld.
•
Press and hold
to activate the scanner.
SC N
•
Align the red laser light so it covers entire barcode.
•
The handheld will beep when it reads the
barcode successfully.
Laser Radiation – Do not stare into beam. Class 2 laser product.
Laser Diode 650 nm Maximum Output 1.0 mW.
5. Continue normal procedures for preparing the sample, filling and sealing cartridge.
6. Push the sealed cartridge into the handheld port until it clicks into place. Wait for the test
to complete.
Note: For ACT, PT/INR, Hct and immunoassay testing, the handheld must remain on a level
surface with the display facing up during testing. A level surface includes running the handheld
in the Downloader/Recharger.
7. Review results.
5
