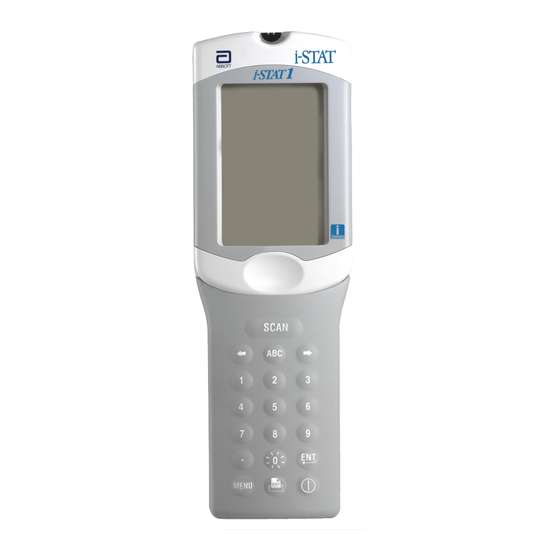
Abbott i-STAT 1 Manual do utilizador - Página 5
Procurar online ou descarregar pdf Manual do utilizador para Instrumentos de medição Abbott i-STAT 1. Abbott i-STAT 1 9 páginas. For use with a clia certificate of waiver
Também para Abbott i-STAT 1: Manual de referência rápida (7 páginas)

Procedure
1.
Turn the handheld on and press
2.
Press
3
for Quality Tests.
3.
Press
for Control.
4.
Press
for i-STAT Cartridge (if prompted).
5.
Scan or enter Operator ID.
6.
Enter the control lot number.
7.
Scan the lot number on the cartridge pouch.
8.
Fill a cartridge with the control and close the cover.
9.
Insert the cartridge into the cartridge port.
10. Enter chart page information if applicable.
11. View results on handheld's display.
12. Remove and discard cartridge when Cartridge Locked message disappears.
13. Press
for Test Options on the results page and press
testing another level of control.
Hardware Procedures
Replacing Batteries
1.
Slide the battery compartment door off.
2.
Tilt the handheld slightly to slide out the battery carrier.
3.
Remove the old batteries from the carrier and replace
with 2 new 9V lithium batteries.
4.
Insert the carrier back into the compartment – label
facing up and electrical contacts first.
5.
Slide the battery compartment door into place.
Charging the Rechargeable Battery
Placing a handheld in a Downloader/Recharger will automatically initiate recharging of the
rechargeable battery. The indicator light on top of the Downloader/Recharger will be
green (trickle charge), red (fast charge), or blinking red (fast charge pending) when a
handheld with a rechargeable battery is placed in the Downloader/Recharger.
No damage will be caused if a handheld with disposable batteries installed is placed in
the Downloader/Recharger.
12
to access the Administration Menu.
MENU
for Next Level if
Patient Test Procedures
Cartridge Test Procedure
• DO NOT open cartridge pouch before scanning the barcode.
1. Press
to turn on handheld.
2. Press
i-STAT Cartridge.
2
3. Follow handheld prompts.
4. Scan the lot number on the cartridge pouch.
•
Position barcode 3 - 9 inches from scanner
window on the handheld.
•
Press and hold
to activate the scanner.
SC N
•
Align the red laser light so it covers entire barcode.
•
The handheld will beep when it reads the
barcode successfully.
Laser Radiation – Do not stare into beam. Class 2 laser product.
Laser Diode 650 nm Maximum Output 1.0 mW.
5. Continue normal procedures for preparing the sample, filling and sealing cartridge.
6. Push the sealed cartridge into the handheld port until it clicks into place. Wait for the test
to complete.
Note: For ACT, PT/INR, Hct and immunoassay testing, the handheld must remain on a level
surface with the display facing up during testing.
A level surface includes running the handheld in the Downloader/Recharger.
7. Review results.
5
