Distech Controls Allure ECL-600 Series Manual de instalação - Página 14
Procurar online ou descarregar pdf Manual de instalação para Acessórios Distech Controls Allure ECL-600 Series. Distech Controls Allure ECL-600 Series 17 páginas. Extension modules
Também para Distech Controls Allure ECL-600 Series: Manual de instalação (16 páginas)

Troubleshooting Guide
Controller is powered but does not turn on
Fuse has blown
Power supply polarity
I/O Extension Module cannot communicate on the subnetwork
Absent or incorrect supply voltage
Overloaded power transformer
Network not wired properly
There is another controller with the same Subnet
ID on the subnetwork
Network length
Wire type
Absent or incorrect network termination
Hardware input is not reading the correct value
Input wiring problem
Configuration problem
Over-voltage or over-current at an input
Open circuit or short circuit
Hardware output is not operating correctly
Fuse has blown (Auto reset fuse)
Output wiring problem
Configuration problem
0 to 10V output, 24VAC powered actuator is not
moving.
Rx/Tx LEDs
RX LED not blinking
TX LED not blinking
Status LED– Normal Operation
One fast blink
Fast blink continuous:
(150ms On, 150ms Off, continuous)
The Status LED is always OFF
Status LED blink patterns – Repeats every 2 seconds (highest priority shown first)
Long blink continuous:
(1s On, 1s Off, continuous)
Long Long Long blink
(800ms On, 300ms Off, 800ms On, 300ms Off,
800ms On)
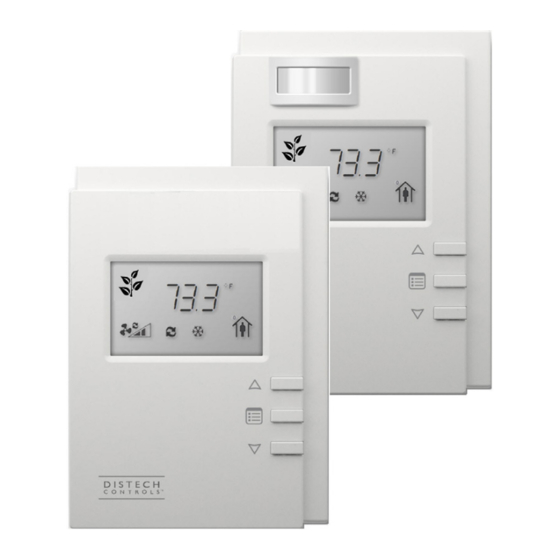
For issues with the Allure EC-Smart-Vue Series Communicating Sensor, refer to the Allure EC-Smart-Vue Series Communicating Sensor Hardware In-
stallation Guide.
14 / 16
Disconnect the power. Check the fuse integrity. Reconnect the power.
Verify that consistent polarity is maintained between all controllers and the transformer. Ensure that the 24VCOM terminal of
each controller is connected to the same terminal on the secondary side of the transformer. See
1. Check power supply voltage between 24VAC ±15% and 24VCOM pins and ensure that it is within acceptable limits.
2. Check for tripped fuse or circuit breaker.
Verify that the transformer used is powerful enough to supply all controllers. See
Double check that the wire connections are correct.
Each I/O Extension Module on the subnetwork must have a unique Subnet ID. Look at the Subnet ID DIP switch on the
faceplate of each I/O Extension Module.
Check that the total wire length does not exceed the specifications in the Network Guide or for the UUKL extension module
refer to the Distech Controls UUKL Smoke Control System Design Guide .
Check that the wire type agrees with the specification of the Network Guide or for the UUKL extension module refer to the
Distech Controls UUKL Smoke Control System Design Guide.
Check the network termination(s). Only the last ECx-400 I/O Extension Module must have its EOL termination set to ON.
Subnetwork Bus Topology and EOL Terminations [pg. 9]
See
connected to the controller, only the last sensor must have its EOL termination set to ON. See
Topology and EOL Terminations [pg. 9]
Check that the wiring is correct according to this manual and according to the peripheral device's manufacturer.
Using EC-gfxProgram, check the configuration of the input. Refer to the EC-gfxProgram user guide for more information.
An over-voltage or over-current at one input can affect the reading of other inputs. Respect the allowed voltage / current
range limits of all inputs. Consult the appropriate datasheet for the input range limits of this controller.
Using a voltmeter, check the voltage on the input terminal. For example, for a digital input, a short circuit shows
approximately 0V DC and an open circuit shows approximately 5V DC.
Disconnect the power and outputs terminals. Then wait a few seconds to allow the auto-reset fuse to cool down. Check the
power supply and the output wiring. Reconnect the power.
Check that the wiring is correct according to this manual and according to the peripheral device's manufacturer.
Using EC-gfxProgram, check the configuration of the input. Refer to the EC-gfxProgram user guide for more information.
Check the polarity of the 24VAC power supply connected to the actuator while connected to the controller. Reverse the
24VAC wire if necessary.
Data is not being received from the subnetwork bus.
Data is not being transmitted onto the subnetwork bus.
Initialization: The device is starting up.
Firmware upgrade in progress. Controller operation is temporarily unavailable. The new firmware is being loaded into
memory. This takes a few seconds. Do not interrupt power to the device during this time.
The controller is operating normally.
The controller is not commissioned.
Appropriate action: Commission the controller.
The controller is offline.
£
Appropriate action: Verify that the:
£
I/O Extension Module's Subnet ID Address is correctly set. See Device Addressing .
£
Subnetwork bus cable is not cut, short-circuited, or too long. See Communications Wiring .
£
Associated ECB-600 or ECL-600 has power.
. When one or more Allure EC-Smart-Vue sensors are
.
Power Wiring [pg. 5]
Power Wiring [pg. 5]
.
Subnetwork Bus
.
