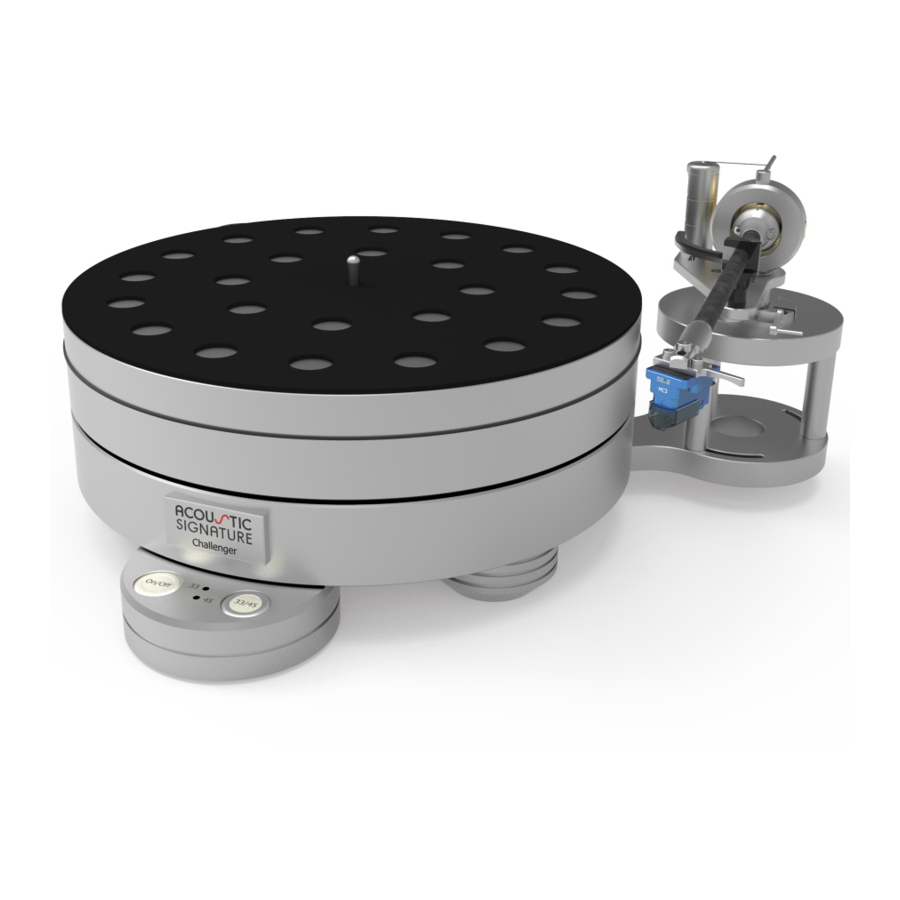
Acoustic Signature CHALLENGER 2018 Manual de instruções - Página 7
Procurar online ou descarregar pdf Manual de instruções para Gira-discos Acoustic Signature CHALLENGER 2018. Acoustic Signature CHALLENGER 2018 11 páginas.

Place the motor unit
Place the motor unit at an optional position
around the platter. Normally the motor unit is
placed on the opposite side of the tonearm.
The distance of the motor unit (its axis) to the
center
of
the
platter
210mm/8,27".
Fitting a tonearm
Now you can start to mount the tonearm and
cartridge (if not supplied already mounted) ac-
cording to the setup manual of the manufacturer.
Before mounting a tonearm you need to mount
the appropriate armboard (if not supplied already
mounted).
We provide armboards for a wide range of tone-
arms. Please contact us for further information.
If wanted, you can dismount the tonearm base
for changing the armboard by loosening the M8 –
screw, using an Allen key size 6.
Place your chosen armboard onto the 3 spacer
and tighten it with the 3 M4x75 - screws.
The radial position of the armboard can be ad-
justed within ±25°. The distance center platter to
center
armboard
can
214mm and 236mm
should
be
around
be
adjusted
between
Motordose positionieren
Die Motordose kann an jeder beliebigen freien
Stelle um den Teller herum aufgestellt werden.
Normalerweise befindet sie sich gegenüber dem
Tonarmausleger. Der Achsabstand der Motordose
zur Tellermitte sollte ca. 210mm betragen
Tonarm einbauen
Nun können Sie den Tonarm und Tonabnehmer
montieren (wenn diese nicht bereits ab Werk
montiert geliefert wurden).
Vor der Tonarmmontage müssen Sie ggf. noch
das passende Armboard montieren, sofern dieses
nicht bereits bei Lieferung von uns montiert wur-
de.
Wir liefern Armboards für eine grosse Anzahl von
Tonarmen. Bitte wenden Sie sich an uns für wei-
tere Informationen.
Sie können die Armbasis für die Montage des
Armboards durch Lösen der M8 – Schraube ab-
nehmen. Verwenden Sie hierzu einen Inbus-
schlüssel Grösse 6.
Setzen Sie das Armboard auf die 3 Spacer auf
und befestigen es mit den M4x75 - Schrauben.
Die radiale Position des Armboards kann im Be-
reich ±25° eingestellt werden. Die axiale Position
zur Tellermitte kann im Bereich 214mm bis
236mm verstellt werden (Mitte Armboard).
7
