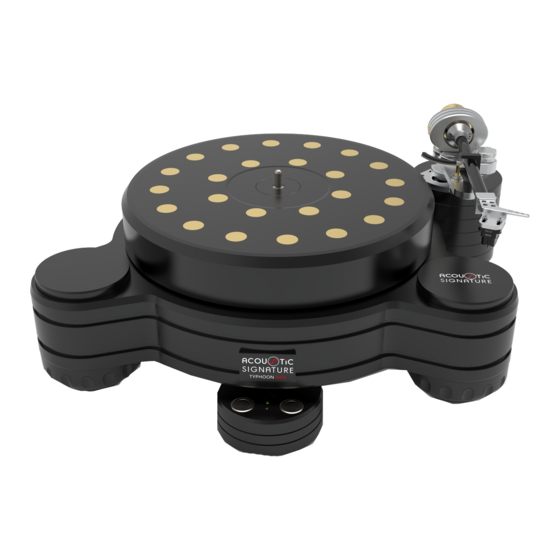
Acoustic Signature Typhoon NEO Manual de instruções - Página 7
Procurar online ou descarregar pdf Manual de instruções para Gira-discos Acoustic Signature Typhoon NEO. Acoustic Signature Typhoon NEO 12 páginas.
Também para Acoustic Signature Typhoon NEO: Manual de instruções (12 páginas)

Mounting a tonearm
Now you can start to mount the tonearm and car-
tridge according to the setup manual of the tone-
arm manufacturer.
Your Typhoon NEO can carry up to 3 tonearms.
The adjustment range of the armbase allows
mounting distances between 222 mm and 310 mm
(with customized armboards even more).
Before mounting a tonearm you need to mount the
appropriate armboard (if not supplied already
mounted).
We provide armboards for a wide range of tone-
arms. Please contact us for further information.
If wanted, you can dismount the tonearm base
for changing the armboard by loosening the M8 –
screw, using an Allen key size 6.
Place your chosen armboard onto the armbase
tube and tighten it with the 3 M4x80 - screws.
Use the delivered special wrench to handle the
central screw.
Tonarm einbauen
Nun können Sie damit beginnen einen Tonarm zu
montieren. Beachten Sie hierzu die die Monta-
geanweisung des Tonarmherstellers.
Ihr Typhoon NEO kann bis zu 3 Tonarme tragen.
Der Verstellbereich der Armbasis ermöglicht einen
Montageabstand von 222 mm bis 310 mm (mit an-
gepassten Armboards auch mehr).
Vor der Montage des Tonarms müssen Sie gege-
benenfalls das passende Armboard montieren.
Wir liefern Armboards für eine grosse Anzahl von
Tonarmen. Bitte wenden Sie sich an uns für wei-
tere Informationen.
Sie können die Armbasis für die Montage des
Armboards durch Lösen der beiden M8–Schrau-
ben abnehmen. Verwenden Sie hierzu einen In-
busschlüssel Grösse 6.
Setzen Sie das Armboard auf das Armbasisrohr
auf und befestigen es mit den M4x80 - Schrauben.
Verwenden Sie den mitgelieferten Spezial-Schrau-
benschlüssel zum Bedienen der Zentralschraube.
7
