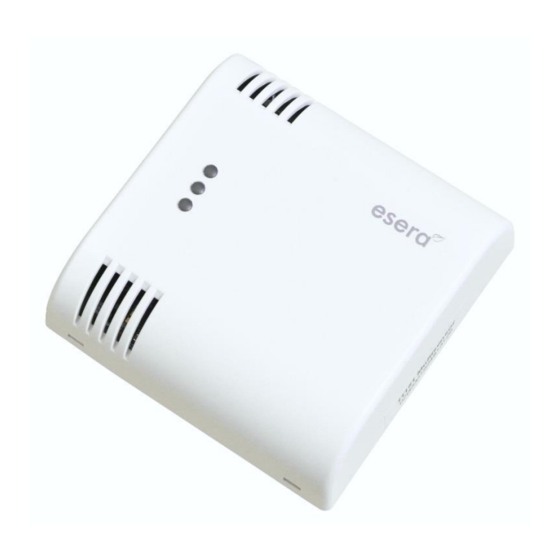
esera automation 11151 Manual do utilizador - Página 4
Procurar online ou descarregar pdf Manual do utilizador para Acessórios esera automation 11151. esera automation 11151 8 páginas. 1-wire sensor for temperature, humidity and air quality w/auto-e-connect

Level 3, red LED: New state or after long operating pause
In the new state or after a long operating pause, the sensor starts with a warm-up time of approx. 15 hours.
During this time, the red LED flashes and a constant 0 ppm air quality is output via the 1-Wire interface.
Level 2, yellow LED: Power interruption of several hours
After a power interruption of a few hours or days, the sensor starts with a warm-up time of approx. 2 hours.
During this time, the yellow LED flashes and 0 ppm air quality is constantly evaluated via the 1-Wire
interface.
Level 1, no LED-display: brief power interruption
After brief voltage interruptions, the sensor starts normal operation directly.
The sensor automatically switches to normal operation after completion of the warm-up phase.
A light sensor is installed in the area of the upper ventilation opening, which automatically switches off the
LEDs when it is dark. This does not affect the sensor function. The brightness sensor cannot be read out.
9
Calibration / Adjustment
The air quality sensor is delivered with factory settings. During the first day of operation, the air quality
sensor calibrates itself automatically several times. To support automatic calibration, expose the sensor to
fresh air several times (at least 15 minutes fresh air at 18 - 25°C). After a few adjustment cycles, the 1-Wire
Multisensor Pro I delivers real air quality values.
Calibration starts automatically or can be started by pressing the calibration button for at least 2 seconds.
The calibration process starts with a slow flashing of the red LED. This signals that you should move away
from the sensor and that the calibration process will start shortly.
During the calibration process, the red LED flashes rapidly. After the calibration has been completed, the
sensor automatically switches to normal operation.
The sensor is very sensitive and already reacts to the presence of people, so stay away from the sensor
during calibration.
Due to the system, the air quality sensor is subject to low aging, which is compensated by annual manual
and automatic calibration.
Note: Please remove yourself at the beginning of the calibration process. Your presence may cause
the sensitive sensor to record incorrect calibration values.
Night function for LED "traffic light"
10
If the calibration button is pressed for at least 10 seconds, the night function for the LED traffic light is
permanently activated.
If the night function is activated, the LED display is switched off by an internal light sensor in darkness in order, for
example, to be able to sleep undisturbed during the night. The night function has no influence on other functions
of the device.
For details, see chapter "LED Display" earlier in this manual. Press the CAL button again for at least 10 seconds
to permanently deactivate the night function.
In the delivery state, the night function for the LED traffic light is not active, which means that the LED traffic light
illuminates independently of the ambient brightness.
11
Software / Control
The 1-Wire Multisensor Pro I is being read out per 1-Wire commands for the DS2438 modules. The sensor is
supported by many systems such as ESERA Station, Loxone, IP-Symcon, OWFS, FHEM (Linux) or
microcontroller applications.
For ESERA 1-Wire Multisensors of the Pro series no elaborate formulas are necessary.
A sensor controller within the Multisensor takes over the preprocessing of all measured values and thereby
enormously simplifies the integration into 1-wire systems. The measured values are no longer dependent on
the operating voltage of a 1-Wire Multisensor.
The values measured by the sensor are assigned to the standard DS2438 module values as follows:
VDD = operating voltage (5V), VAD = rel. humidity, Xsense = air quality.
All rights reserved. Reproduction as well as electronic duplication of this user guide, complete or in part, requires the written consent of
ESERA GmbH. Errors and technical modification subject to change. ESERA GmbH, ESERA-Automation 2020
www.esera.de
11151 V2.0 R1.0 Manual
Page 4 of 8
