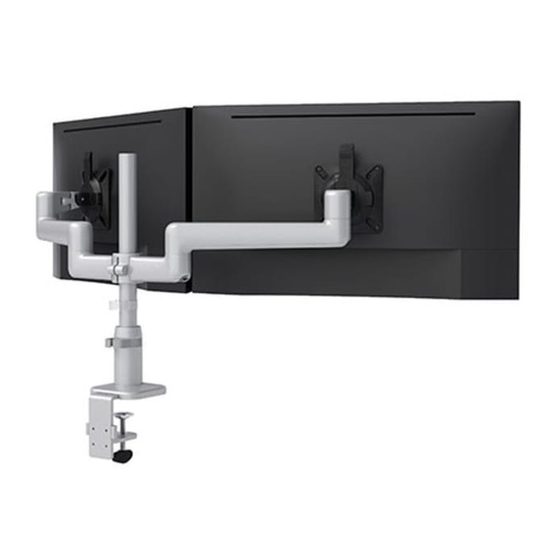
ESI KATAEX2-DC-FMS-WHT Manual de instruções de instalação - Página 4
Procurar online ou descarregar pdf Manual de instruções de instalação para Racks & Stands ESI KATAEX2-DC-FMS-WHT. ESI KATAEX2-DC-FMS-WHT 12 páginas. Dual fixed+motion+slider monitor arm

KataEX2-FMS
Step #2: assemble slider mounts
IMPORTANT: When assembling the slider mounts, the groove on the slider bars must be at the bottom.
• Slide the VESA mount assembly onto the slider bar. Center the assembly on the slider bar.
• Install the M4x9 set screw into the bottom of the VESA mount assembly. Use the 2mm Allen key to tighten the set screw to hold the assembly in place. Be sure the
screw tip fits into the groove on the slider bar.
— After the monitor has been installed, the VESA mount can be moved anywhere along the slider bar by loosening the locking screw no more than one full turn, so that
it stays inside the groove. Be sure to re-tighten the screw to secure the monitor in the desired position.
VESA mount
assembly
Step #3: install connection sleeve onto post
• Remove the locking ring from the connection sleeve. Rotate the locking ring counterclockwise to unlock it and
then lift it off.
• Slide the connection sleeve onto the post, usually with the screw toward the rear. With the sleeve at the desired
height, tighten the screw using the 4mm Allen key.
— If necessary, the height of the connection sleeve may be adjusted after the monitors have been installed.
CAUTION: Be sure to have an assistant support the weight of the monitors and monitor arms before loosening
the the screw on the connection sleeve.
slider bar
Page 4
groove
2mm
Allen key
to unlock,
turn locking ring
counterclockwise
connection
sleeve
lift o
Assembly
set screw
M4x9
4mm
Allen key
