alverlamp L7PRO10040W Manual de início rápido - Página 3
Procurar online ou descarregar pdf Manual de início rápido para Projetor alverlamp L7PRO10040W. alverlamp L7PRO10040W 3 páginas.

1
3
ES
1. Hacer dos agujeros con taladro en las marcas realizadas, colocar los tacos y fijar el soporte con los
tornillos suministrados con el producto.
2. El proyector queda anclado a la pared.
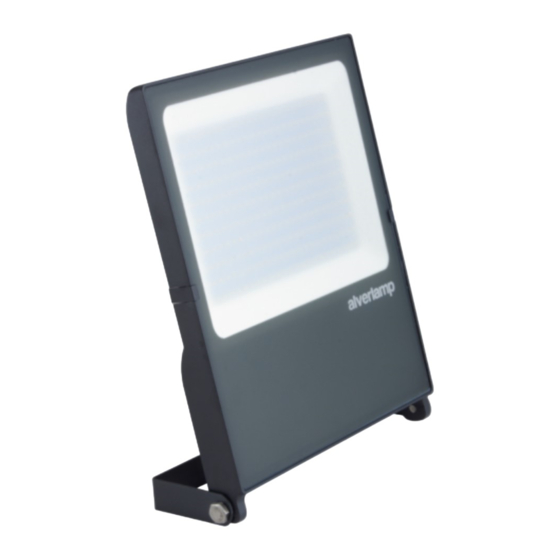
3. Se puede variar el ángulo mediante el ajuste de los tornillos laterales.
4. El proyector debe conectarse a la toma eléctrica con prensaestopas IP67
IT
1. Due fori sono fatti con trapano nei segni fatti, le spine sono posizionate e fissare la staffa con le viti
fornite con il prodotto.
2. Il proiettore è ancorato alla parete.
3. È possibile variare l'angolo regolando le viti laterali.
4. Il proiettore deve essere collegato alla presa elettrica con ghiandole cavo IP67
EN
1. Two holes are made with drill in the marks made, the plugs are placed and we secure the bracket
with the screws supplied with the product.
2. The projector is anchored to the wall.
3. You can vary the angle by adjusting the side screws.
4. The projector must be connected to the electrical outlet with IP67 cable glands
Alberola Verdú S.L.
Collidors s/n 46791 Benifairó de la Valldigna - Valencia - Spain (+34) 962 811 002
MANUAL DE INSTALACIÓN
2
4
www.alverlamp.es
