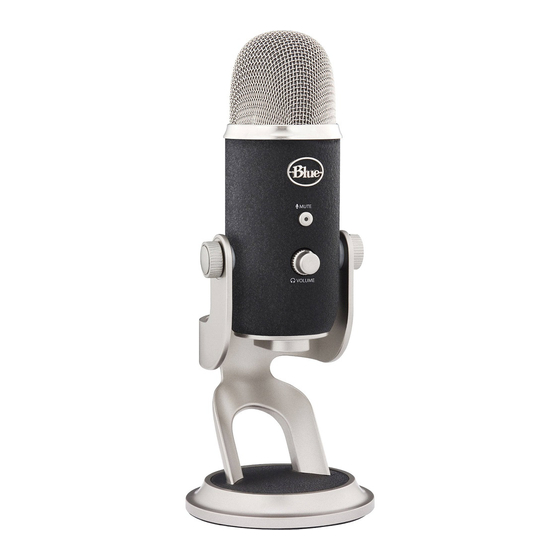
Blue YETI PRO Manual do utilizador - Página 6
Procurar online ou descarregar pdf Manual do utilizador para Microfone Blue YETI PRO. Blue YETI PRO 16 páginas. Ultimate usb & xlr microphone for professional recording

you want to record something that is very loud, like a drum set, or a band practice, you will want to turn this setting down. If
you are recording something that may be quiet, like an interview with a person who speaks softly, you may want to turn this
setting up.
5. Select the "Playback" tab. Select the "Yeti Pro Stereo Microphone" from the list.
From this screen, you will also want to adjust the computer's master volume. As a starting point, set the computer's master
volume to 100%. Once you've selected the Yeti Pro as your output device, you can control headphone volume with volume knob
on the front of the Yeti Pro.
Also, from this screen, you will want to adjust the microphone monitoring volume. You can adjust this by moving the fader
labeled "microphone" to the left or to the right.*
*NOTE: The microphone monitoring volume is different than the microphone gain control. The microphone monitoring volume is the amount of sound from the
microphone that is sent to your main computer output. The microphone input volume is the control that determines the amount of sound output from the microphone
that goes into your computer. If the microphone input is distorting, the microphone input volume should be adjusted accordingly.
10
Quick notes on sampling rates:
The sampling rate refers to the resolution at which analog audio is converted into digital data by Yeti Pro's analog-digital
converter. Higher sampling rates will 'sample' and convert the analog signal more often than a lower sampling rate over a
given period of time, more accurately capturing the original sound but creating proportionally more data to be captured by
the computer.
Yeti Pro is capable of sampling rates from 22kHz to 192kHz, allowing for more than four times the resolution of a typical CD
recording (44kHz). Sampling rates should be selected based on the capabilities of your system, the nature of the recording,
and the eventual output for your work. For instance, if your recordings are destined for a CD, you would prefer to record at an
even multiple of the final sampling rate (88.2kHz or 176.4kHz) while recordings that will be digitally compressed will generally
benefit from the highest rate possible. Furthermore, higher sampling rates are most beneficial in capturing the realism of high
frequency, rapid sounds (like cymbals) and enhancing the image of stereo recordings. Keep in mind that high sampling rates
combined with Yeti Pro's stereo output can create very large data files very quickly, so keep an eye on your hard disk space
and work files.
11
