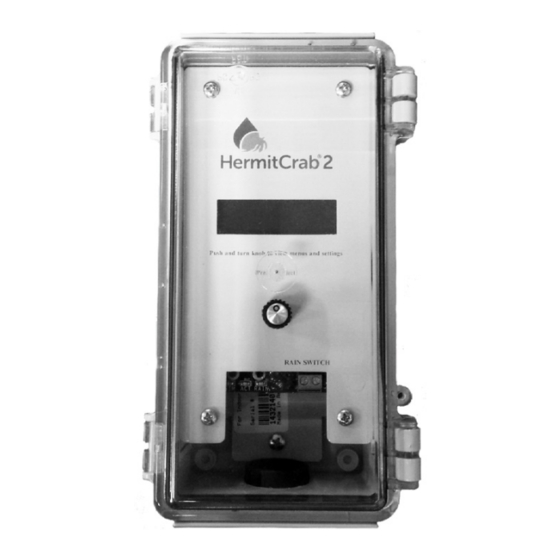
ET Water HermitCrab 2 Manual de instalação do utilizador - Página 3
Procurar online ou descarregar pdf Manual de instalação do utilizador para Controlador ET Water HermitCrab 2. ET Water HermitCrab 2 12 páginas.

You are now ready to install your HermitCrab. (See "Installation Instructions")
If for some reason your HermitCrab was installed before it was registered, you should review the
"communications report" on your Account Overview page to determine if the HermitCrab has already
connected with the ET Water servers. If it has connected, it should continue to connect on a daily basis.
If it has not already connected, you will need to execute a Test Dial, as described in the Installation Instructions
in this document.
Your ET Water Account....
Your website account contains all of the important watering information you'll need to ensure your
site is efficiently irrigated. You can log in at any time at www.etwater.com to review such information as:
• When your HermitCrab will water again, and which stations will water
• When your HermitCrab last watered
• The number of hours in your water window
• When your HermitCrab last communicated with the ET Water server
• Current weather information, including ET data
• Watering adjustments, restrictions, and suspensions
Page 2
HermitCrab Installation Instructions
We strongly recommend that you run a station test for ALL the stations linked to your existing
(host) controller so that you can correct any transformer, wiring or solenoid problems before you
install your HermitCrab.
Before you start.....
Here are some things you will need to consider before you mount and connect your HermitCrab:
Do you have the correct communications cable?
Each host controller requires its own specially designed cable. Cables can be purchased
separately. Refer to the chart on Page 8 for a list of compatible host controllers.
Is there sufficient mounting space?
The communications cable that connects your HermitCrab to the host controller is 3 feet long. You will need
to mount or hang your HermitCrab so that the communications cable can easily attach to the port and/or
terminal of the host controller and your HermitCrab. Refer to pages 9 to 17 to find the exact location of your
host controller connection point.
Is your host controller mounted in a vandal-proof enclosure or pedestal?
If your host controller is inside a pedestal or other enclosure, you may decide to hang your HermitCrab on the
side or the back of it. Please note, however, that the wireless signal strength from inside the enclosure may be
too low to ensure consistent and reliable communication.
Will you need extra conduit?
If you use conduit to protect your cables from vandalism, either flexible or rigid, you will need a ¾ inch or larger
to accept the connectors on each end of the communications cable. You may also need a junction box and
any related conduit/box connectors.
Do you have a rain sensor?
If you use a rain sensor, you may need some 18 or 20 gauge wire to splice to your rain sensor wires so they
reach HermitCrab.
Do you want to lock the HermitCrab cover?
Find the round plastic link above the lower clasp. You can slide a thin padlock hasp through the link to lock the
cover.
Warning: If your host controller is installed in an area known to receive lightning strikes, ET Water
recommends the controller be thoroughly grounded via a grounding rod or similar installation.
Step 1: Program the existing (host) controller
The host controller needs to be set up correctly to accept watering commands from your
HermitCrab. Locate the brand and model of your host controller in the chart on Page 8, and
follow the instructions on pages 9 to 17 to set it up for "HermitCrab Mode."
Step 2: Turn off the power to the host controller
Your HermitCrab receives its power from the host controller, so there's no need to wire in 24 VAC. You must
turn the power off while making the connections between the host and your HermitCrab.
Page 3
